My Microblading Experience
As I briefly touched on from my blog post a few months ago, I have gotten my brows microbladed over eight months ago. This was something that I’ve been thinking of for the past 2 years or so, but I always had my hesitations and have only taken the step to get it done when I found an artist whose work I 100% admired and loved.
The thing is, I’ve never gotten any permanent ink on my body, and the thought of something so permanent, on my face nonetheless, gave me a big pause from getting it done altogether. I have done a lot of research about the process and how it should go, but haven’t actively looked for an artist in the area. When I have gotten recommendations from someone for an artist in the area, I tended to not like their work as much or saw that their specialization or style did not fit with how I would want my brow to look like. For a while the ones that I do end up loving are either from LA or NYC or end up costing so much more than what I’m comfortable with (more than $1k, my budget max was $750), so I just kept the plan in the back burner. It wasn’t until the holidays last year (December 2018) when I started seriously considering getting my brows done and by then I had a few artists I knew I wanted to check out and possibly do a consultation with. After thoroughly looking into those artists, I finally ended up finding one that I actually was prepared to have a consultation with 2 months later.
Microblading Overview
I’m not a licensed esthetician or microblading artist, so instead of educating you all about microblading myself, I will link my artist’s FAQ page instead so you can learn all about the fundamentals of microblading there from a licensed and reliable source. With that said, I will make it clear that yes, microblading is still a semi-permanent cosmetic tattoo, although it uses a very sophisticated shading technique to mimic the natural hairs of the brows as opposed to a color-block filling on the brows. The ink they use is semi-permanent and work like regular tattoo ink, although it may fade faster, so I cannot stress enough that you need to make sure that you find a great brow artist that does the type of brows you want to achieve and whose work you are comfortable with.
Most microblading procedure requires at least two visits, the first visit is when they initially apply the microblading strokes and the second session is after your brows heal, between 6-12 weeks after the first appointment, which is used to apply pigment on the areas that faded more and also adjust the tone and shade depth of the pigment so it is tailored to your liking.
Research Process
The research process was relatively easy for me. During my initial search of highly recommended microblading artist from Cali who do brows for celebrities and influencers, I noticed right away that their websites were full of information and answered so many questions about the procedure, which to me indicated that they had more credential and take the procedure seriously. I definitely used their website as a standard for all the other microblading artist I did research on. I found some artists on Instagram from recommendations by a few people and looked at their work. I made sure to double check that their photos were theirs by looking at quality, lighting, water marks and them posting stories of their work in progress on their socials. I have heard of stories of how some beginner brow artist would steal others’ photos and try to pass it off as theirs, so make sure you are being extra careful when examining photos. After that, I went to their websites to see if they put out a standard FAQ and information page.
For me, the price wasn’t the biggest determining factor of picking an artist as long as I could find artist that can do the brows I wanted, within my price range. I know most artist charge about $400-$800 for the two sessions that it requires to get done and the variation depends on the skill level and amount of experience they have. If the artist is fairly new, they’ll most likely be charging on the lower end, and if they’re highly experienced their prices tend to be higher. There are a lot of microblading deals on Groupon, and while I do want to caution you on finding someone there as I’ve heard of a few horror stories, I want to note that my sister did find her brow artist there (she lives in another state) and her brows look amazing. What I made sure to emphasized to her before buying a deal and making an appointment was to take the same research steps I did to ensure that she got a good microblading artist.
Consultation and Setting Up Your Appointment
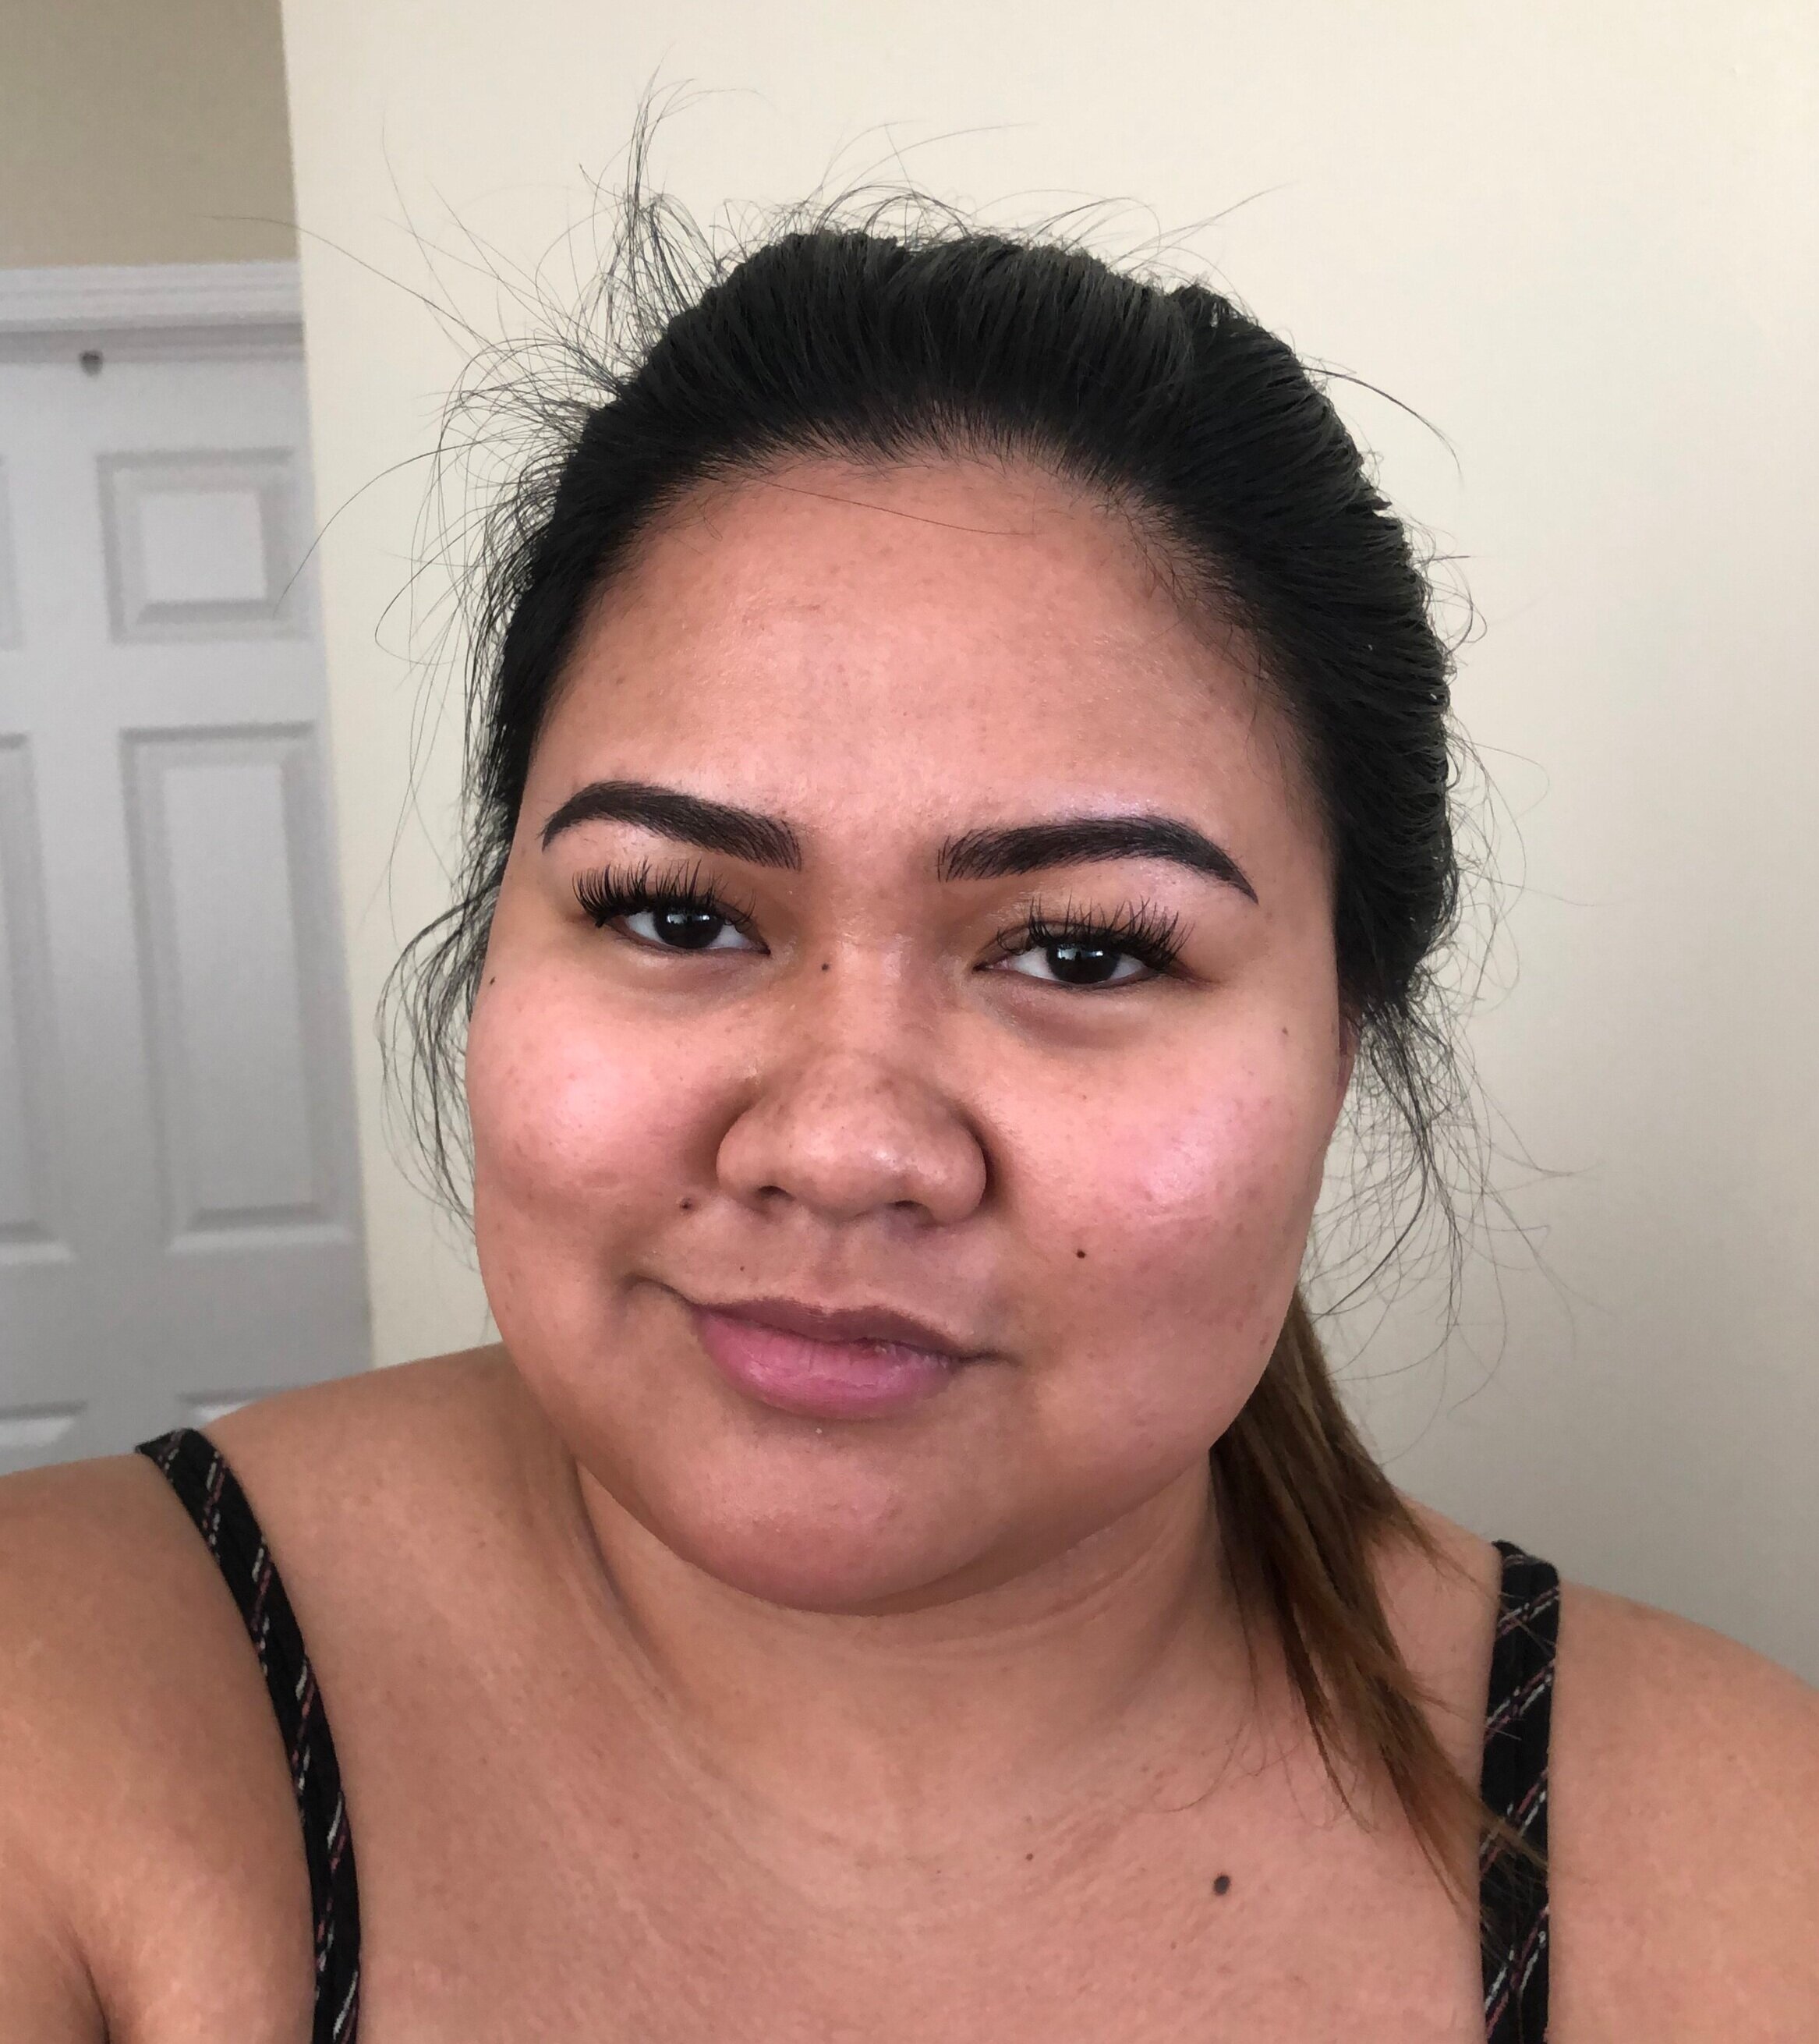
Before I talk about my experience for my consultation, I think it’ll be helpful to talk about my brows and what I was looking for. I have oily skin, especially around my brow area and have very fine barely-there brows that basically require filling in everyday for them to even show up. I wanted to achieve natural looking brows with microblading that would look great without any filling in, but can also be filled in with regular brow pencil if I wanted a more dramatic look for days where I want to wear a more dramatic makeup look. Applying brow makeup is not an issue for me when I do makeup, I wanted the microblading more for days where I’m bare faced so I can look like I have brows without taking 5-10 minutes doing it and just be out the door.
I initially had a consultation with an artist that I really liked and ended up booking, although she was all booked up and I had to wait 3 months for my appointment (mid-May). She did charge for the consultation, but it acted as your deposit for the appointment if you end up booking with her, and it would be deducted to the payment total. During the consultation, we talked a lot about my brows, the shape and style I want, my skin type and what technique would work best for me. I’ve read a lot already that a blend of microblading and shading would work best for my oily skin. She also did a quick mapping on my brows so I can see the shape she plans to do on my brows. I liked that she emphasized that while microblading does give you ready-made brows, they do fade in time and sometimes will require some filling in on certain areas, but the microblading acts as an idiot-proof guide, so even those that don’t do their brows are able to easily fill them in.
About a month after that consultation, my cousin told me of a friend who got her brows microbladed by an artist in Chicago and she thought it looked so great and I would love the work of that artist. I quickly checked up on that artist’s Instagram and was very impressed with her work! The best part? Her booking system allowed me to get my appointment within a month, at the beginning of April, instead of waiting until mid-May. I actually didn’t end up getting a consultation with her because her website was so comprehensive and her work was just so amazing from her Instagram page, I just instantly had a good feeling about her. It also helped that I had a consultation with the other artist, so I didn’t feel so lost about the procedure anymore and knew that if I didn’t end up liking her during the consultation part of my appointment, I can just cancel it entirely, and would only lose my deposit, which was basically the price of a consultation with her.
Appointment
When you are booking your appointment, most brow artist will warn you that you need to make sure you are not going on a trip where you will get a tan, go fake-tanning and/or get a chemical peel at least two to three weeks before your appointment and two to three weeks after. They also want you to stop using any chemical exfoliants in that time period, if you use any. These rules are pretty heavily enforced by a lot of artist as it affects the outcome of the procedure significantly. A few days before my appointment, I had to fill-in a few paperwork and disclosure forms and they made sure to follow up on me and make sure I turned in my forms online. For my appointment, I made sure to try and follow the pre-appointment instructions although, I did have to drink coffee that day, because coffee is life, duh!

Daisy applied the numbing cream before starting my consultation to give it time to kick in while we talked about my brows and what I wanted to achieve with microblading.

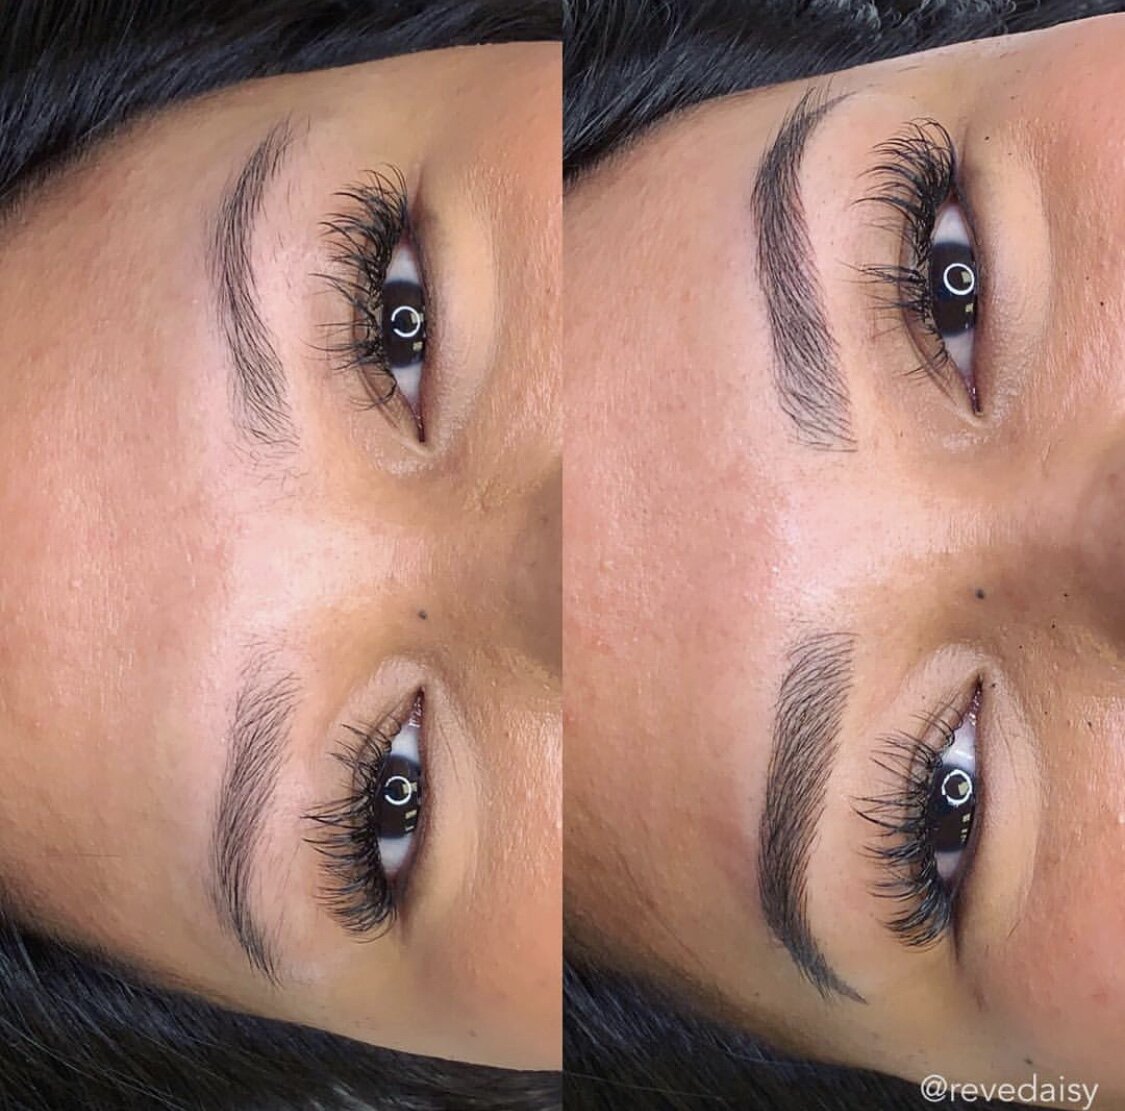
After she wiped off the cream, she then went ahead and started mapping my brows to the shape that would flatter my face the most. The brow outline is what shape I approved and it basically acts as the boundary of where she would place the microblading strokes.
My appointment actually went very smoothly and took about 2.5 hours from start to finish. Daisy, my microblading artist, first did a consultation with me and then proceeded to map my brows and have me approve its shape. She made sure she gave me all information I needed to know and was open to any other questions I had. Once I approved the shape of my brows, she then applied the numbing cream on my brow area and had me wait about 20-30 minutes for it to fully take effect. We had also agreed that combination brows was best for my skin type and brow look I wanted to achieve. That meant that she will first go in with microblading strokes for my entire brows and then use a shading machine to create a powder shading effect on the outer half of my brows, so it looks a bit more filled in. When the numbing cream wait time was over, she had me lay down on the bed and started drawing the initial brow strokes and then used a machine to do the shading part of my brows. This part was not painful for me at all and I barely felt it, but it may be a bit painful for some people depending on how high/low their pain tolerance is. Honestly, getting a bikini wax is more painful, LOL! The last step was her applying the color on the strokes and shaded area and letting it sit for a few minutes before finally wiping it off. Once she wiped it off, she then had me sit up and handed me a mirror. The big reveal was amazing and I loved everything about how my brows turned out! I swear I may have gotten teary from how pleased I was with how it looked!
Post-Care and Healing
From what I’ve gathered there are a few variations for post-care after microblading depending on your artist. My post-care instruction was pretty simple, I had to wipe my brows with a damp cotton pad twice a day and apply ointment at night. All of these items were provided by Daisy, so all I had to do were follow the instructions. I also needed to make sure that I don’t expose my brows to any moisture, sweat or the sun. Lastly, I had to avoid picking or scratching at my brows, if they get itchy, which they definitely do around Day 3. It took a lot of self-control but I was able to stop myself from doing so.
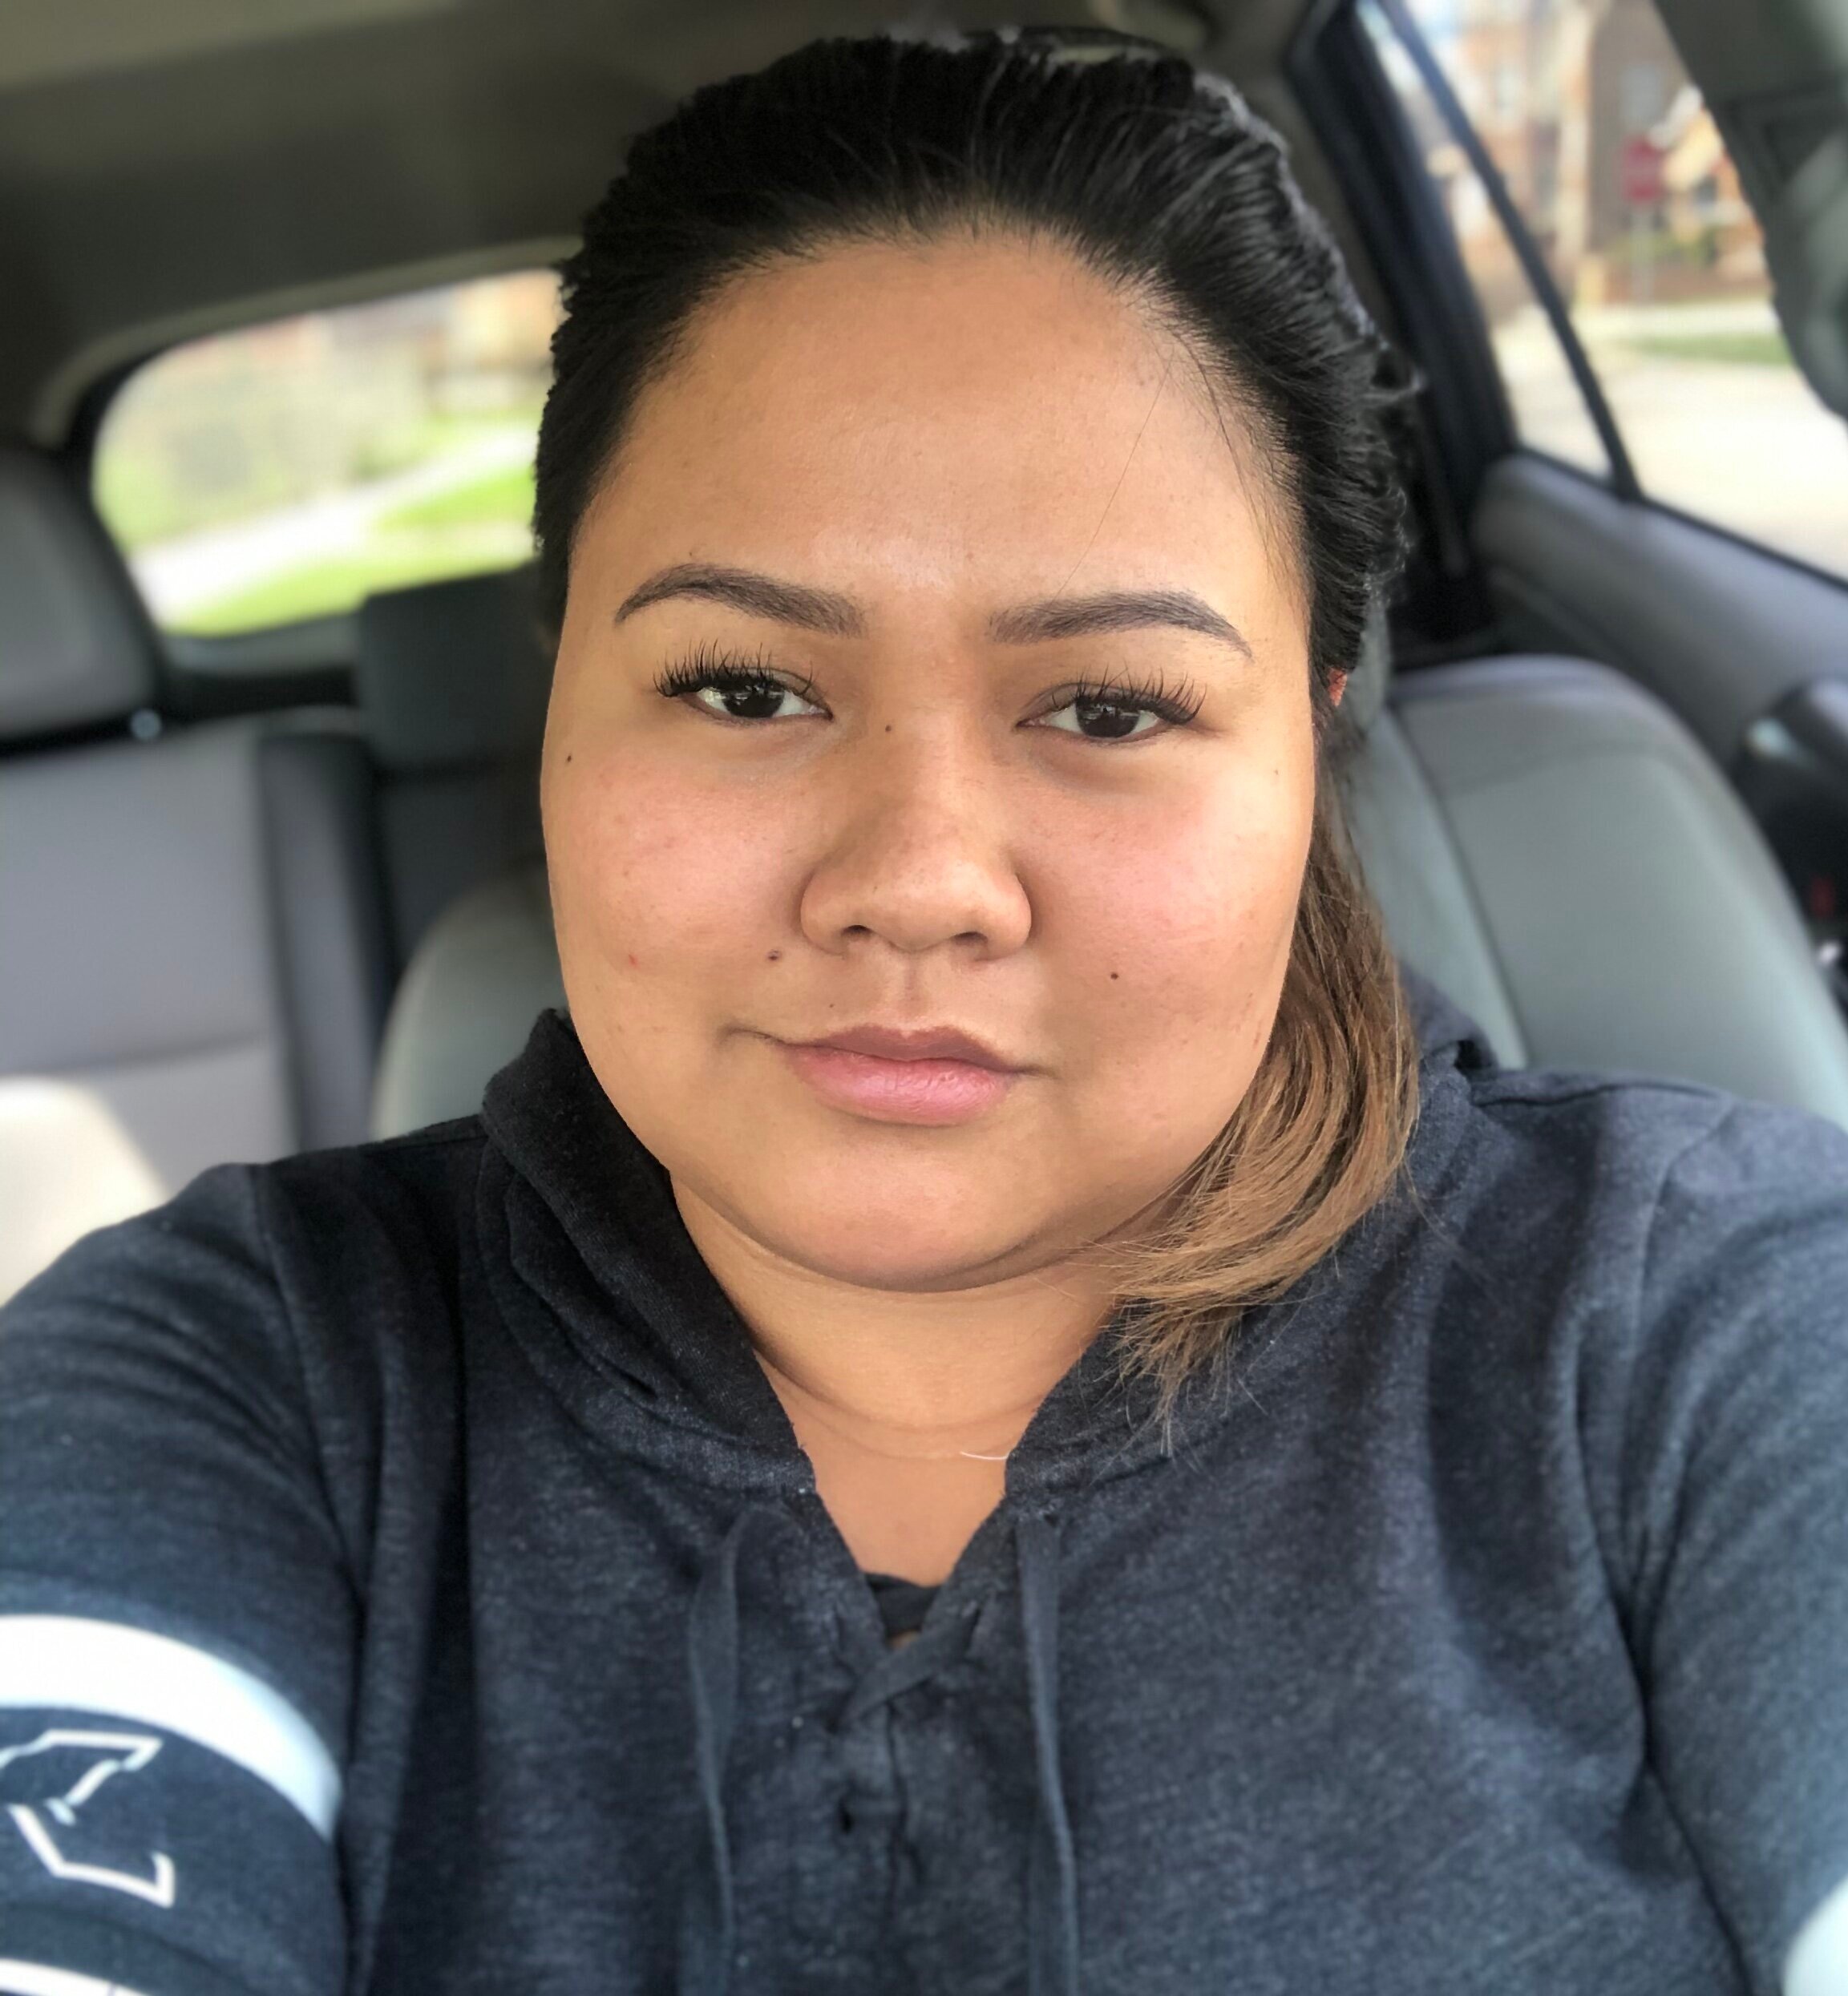
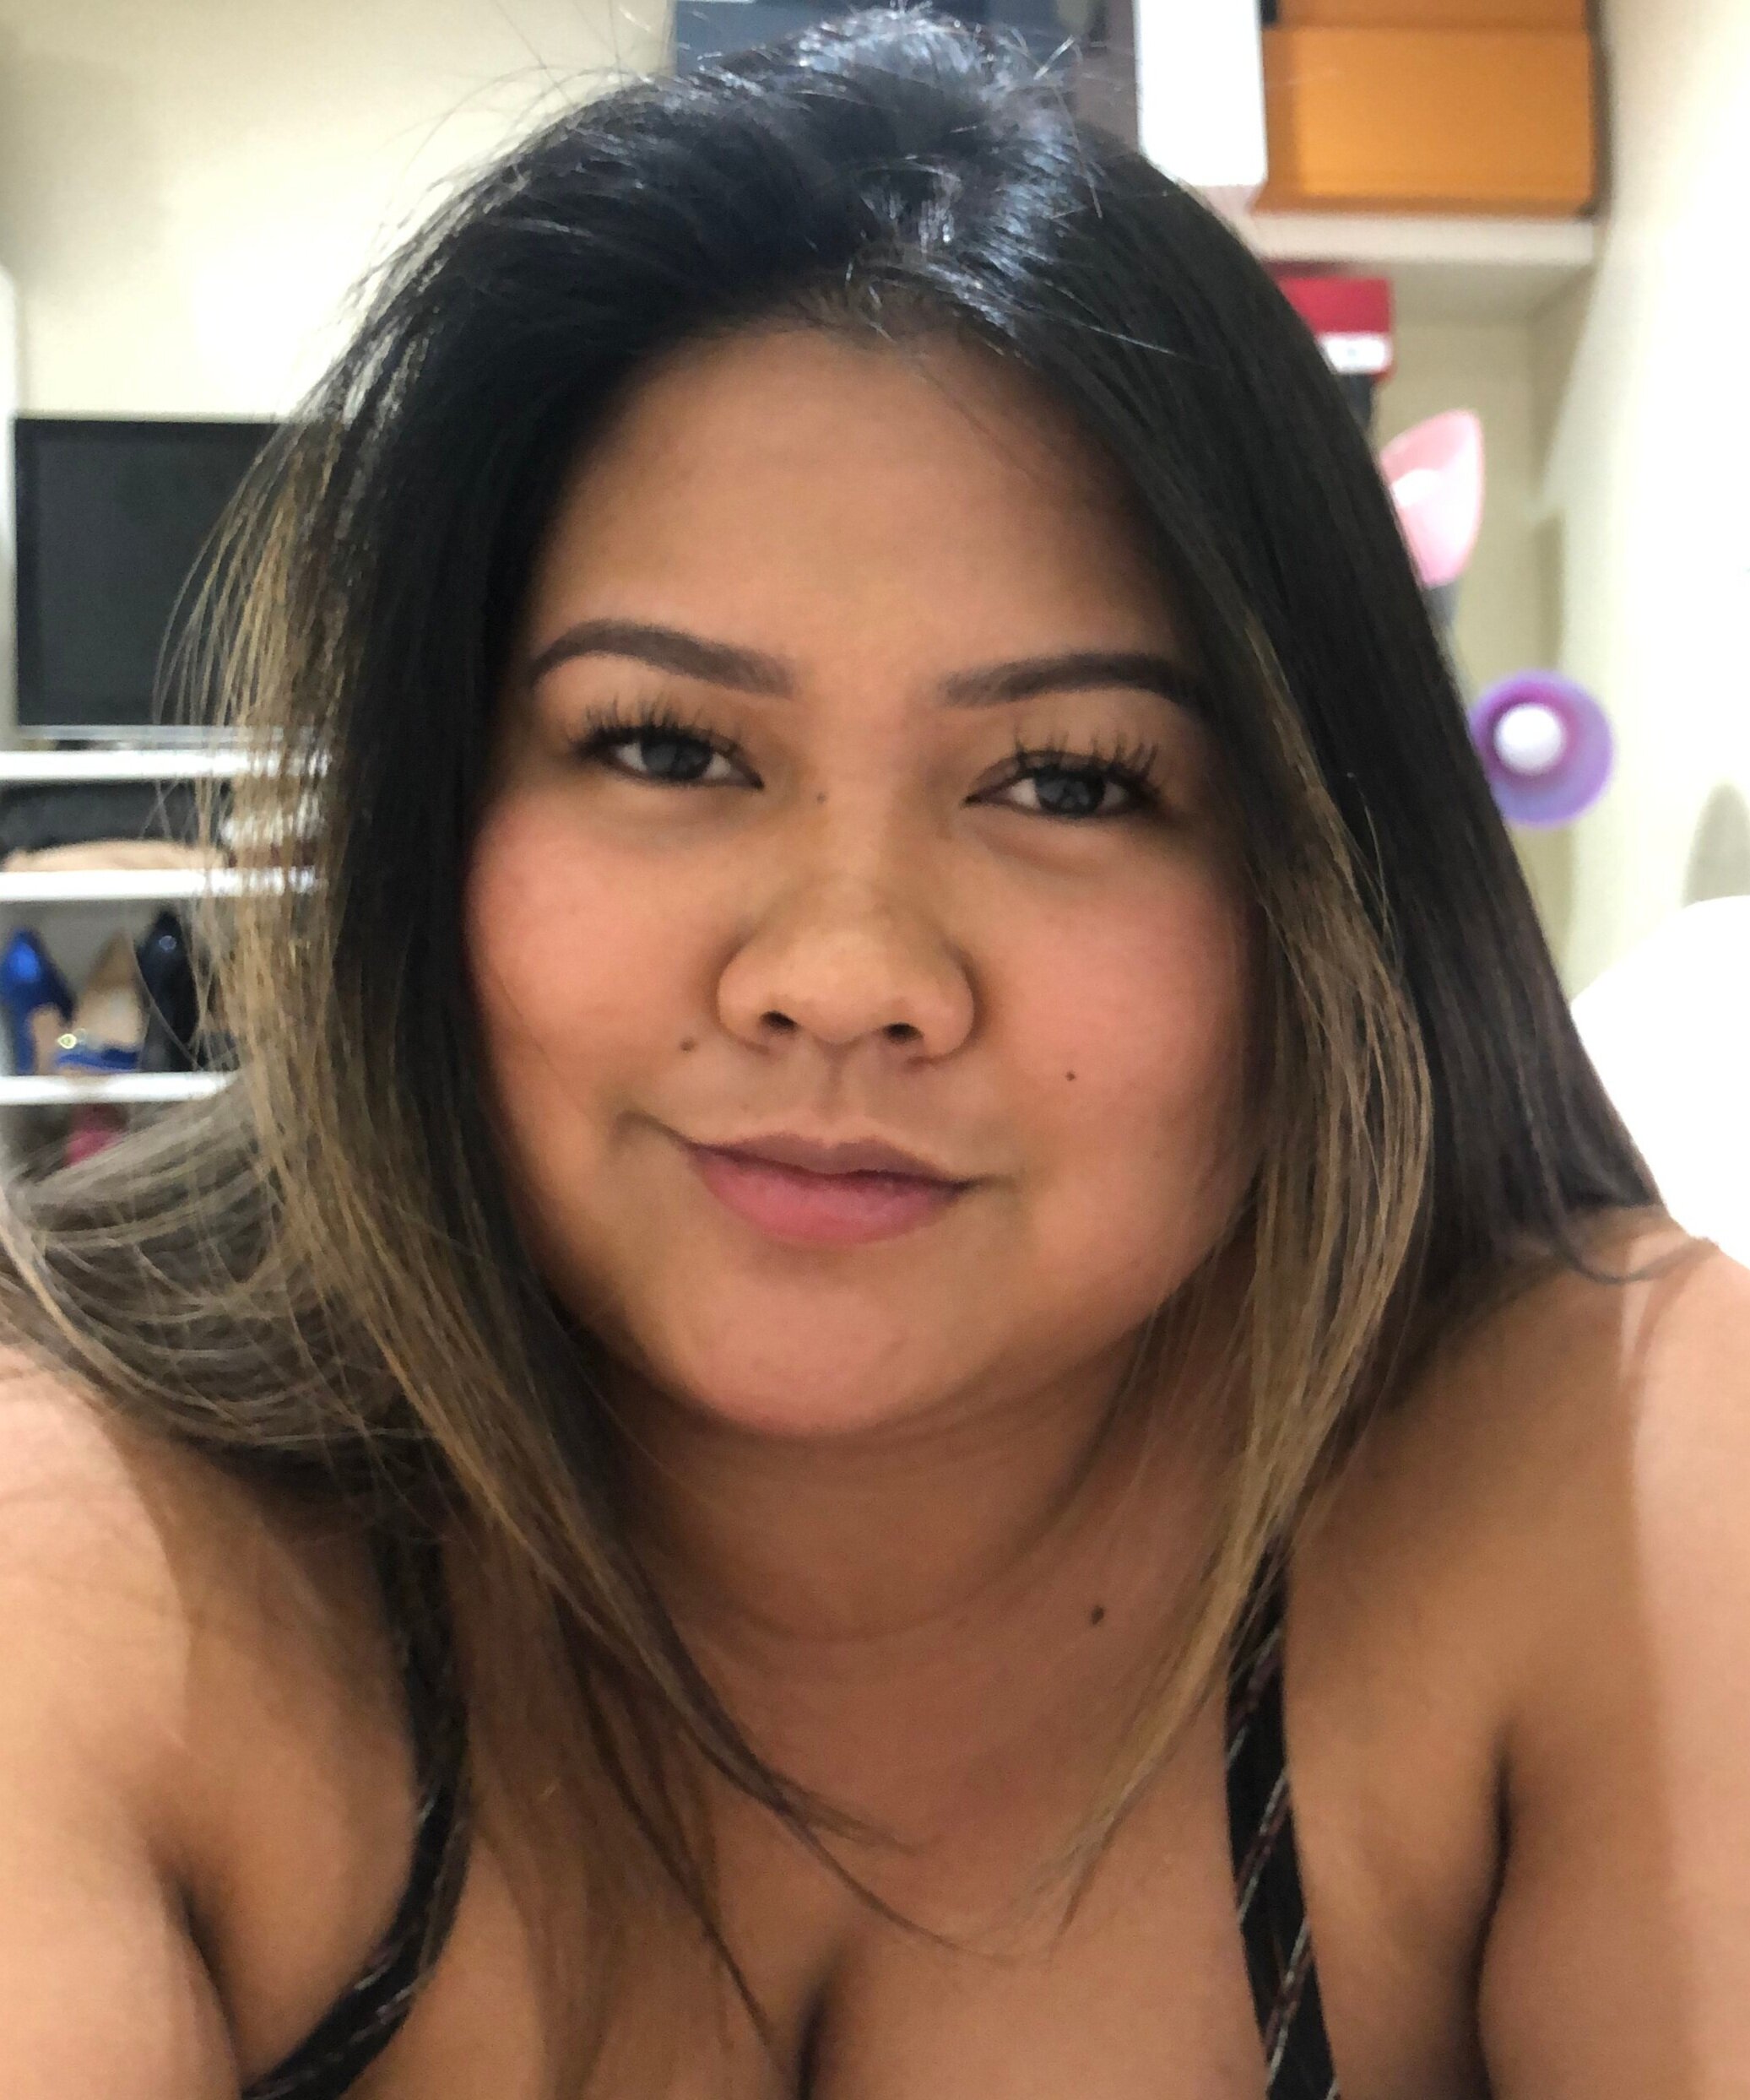
The healing time for microblading is about 7-14 days, and varies depending on how fast your skin heals. If you think you’ll get self-conscious with how your brows look, I would definitely advise you to not schedule any event in between day 4-10 as your brows may not look great then because of the flaking and peeling. I found that even though brows were dark during day 2 and 3, it didn’t look bad at all, if anything it just looked like it was heavily filled in, so I still went to work and went out those days. On day 11, I was able to wash my brows with soap and water and usually around that time the brow is fully healed. Below are some of the photos of my brows as it healed:

My cousin got her brows done the same day as I did, and while my brows were basically done with the initial healing process by day 9, her brow skin did not fully peel off until Day 12 and she wasn’t able to wash her brows until day 13. This just shows you how healing time an definitely vary from one person to another. After the 14 days initial healing process, you are still expected to limit sun exposure within the first 30 days of getting your microblading as the pigment may significantly lighten and breakdown then.

I found this microblading healing chart, which is a pretty accurate depiction of how the healing progress can go.
Touch-up Appointment and Final Look
I did not schedule my touch-up appointment until the beginning of July, which was exactly 12 weeks after my first appointment. By then my healed brows has faded about 40%, especially towards the outer ends, and definitely needed a second passing of microblading. These are all pretty common, and that’s why a second appointment is necessary to reinforce the shape and shade. Booking the touch-up appointment was pretty easy, and it took about 1.5 hours from start to finish.
Daisy first assessed where the areas are were the brows faded significantly and also we decided on going a shade darker that the original shade she used on me, now that she’s seen how much the shade from the first appointment faded. The touch up appointment went similarly to the first appointment, except it went by a little faster. I found that the healing after the second appointment also went by faster, as my brows were basically fully healed by day 7.
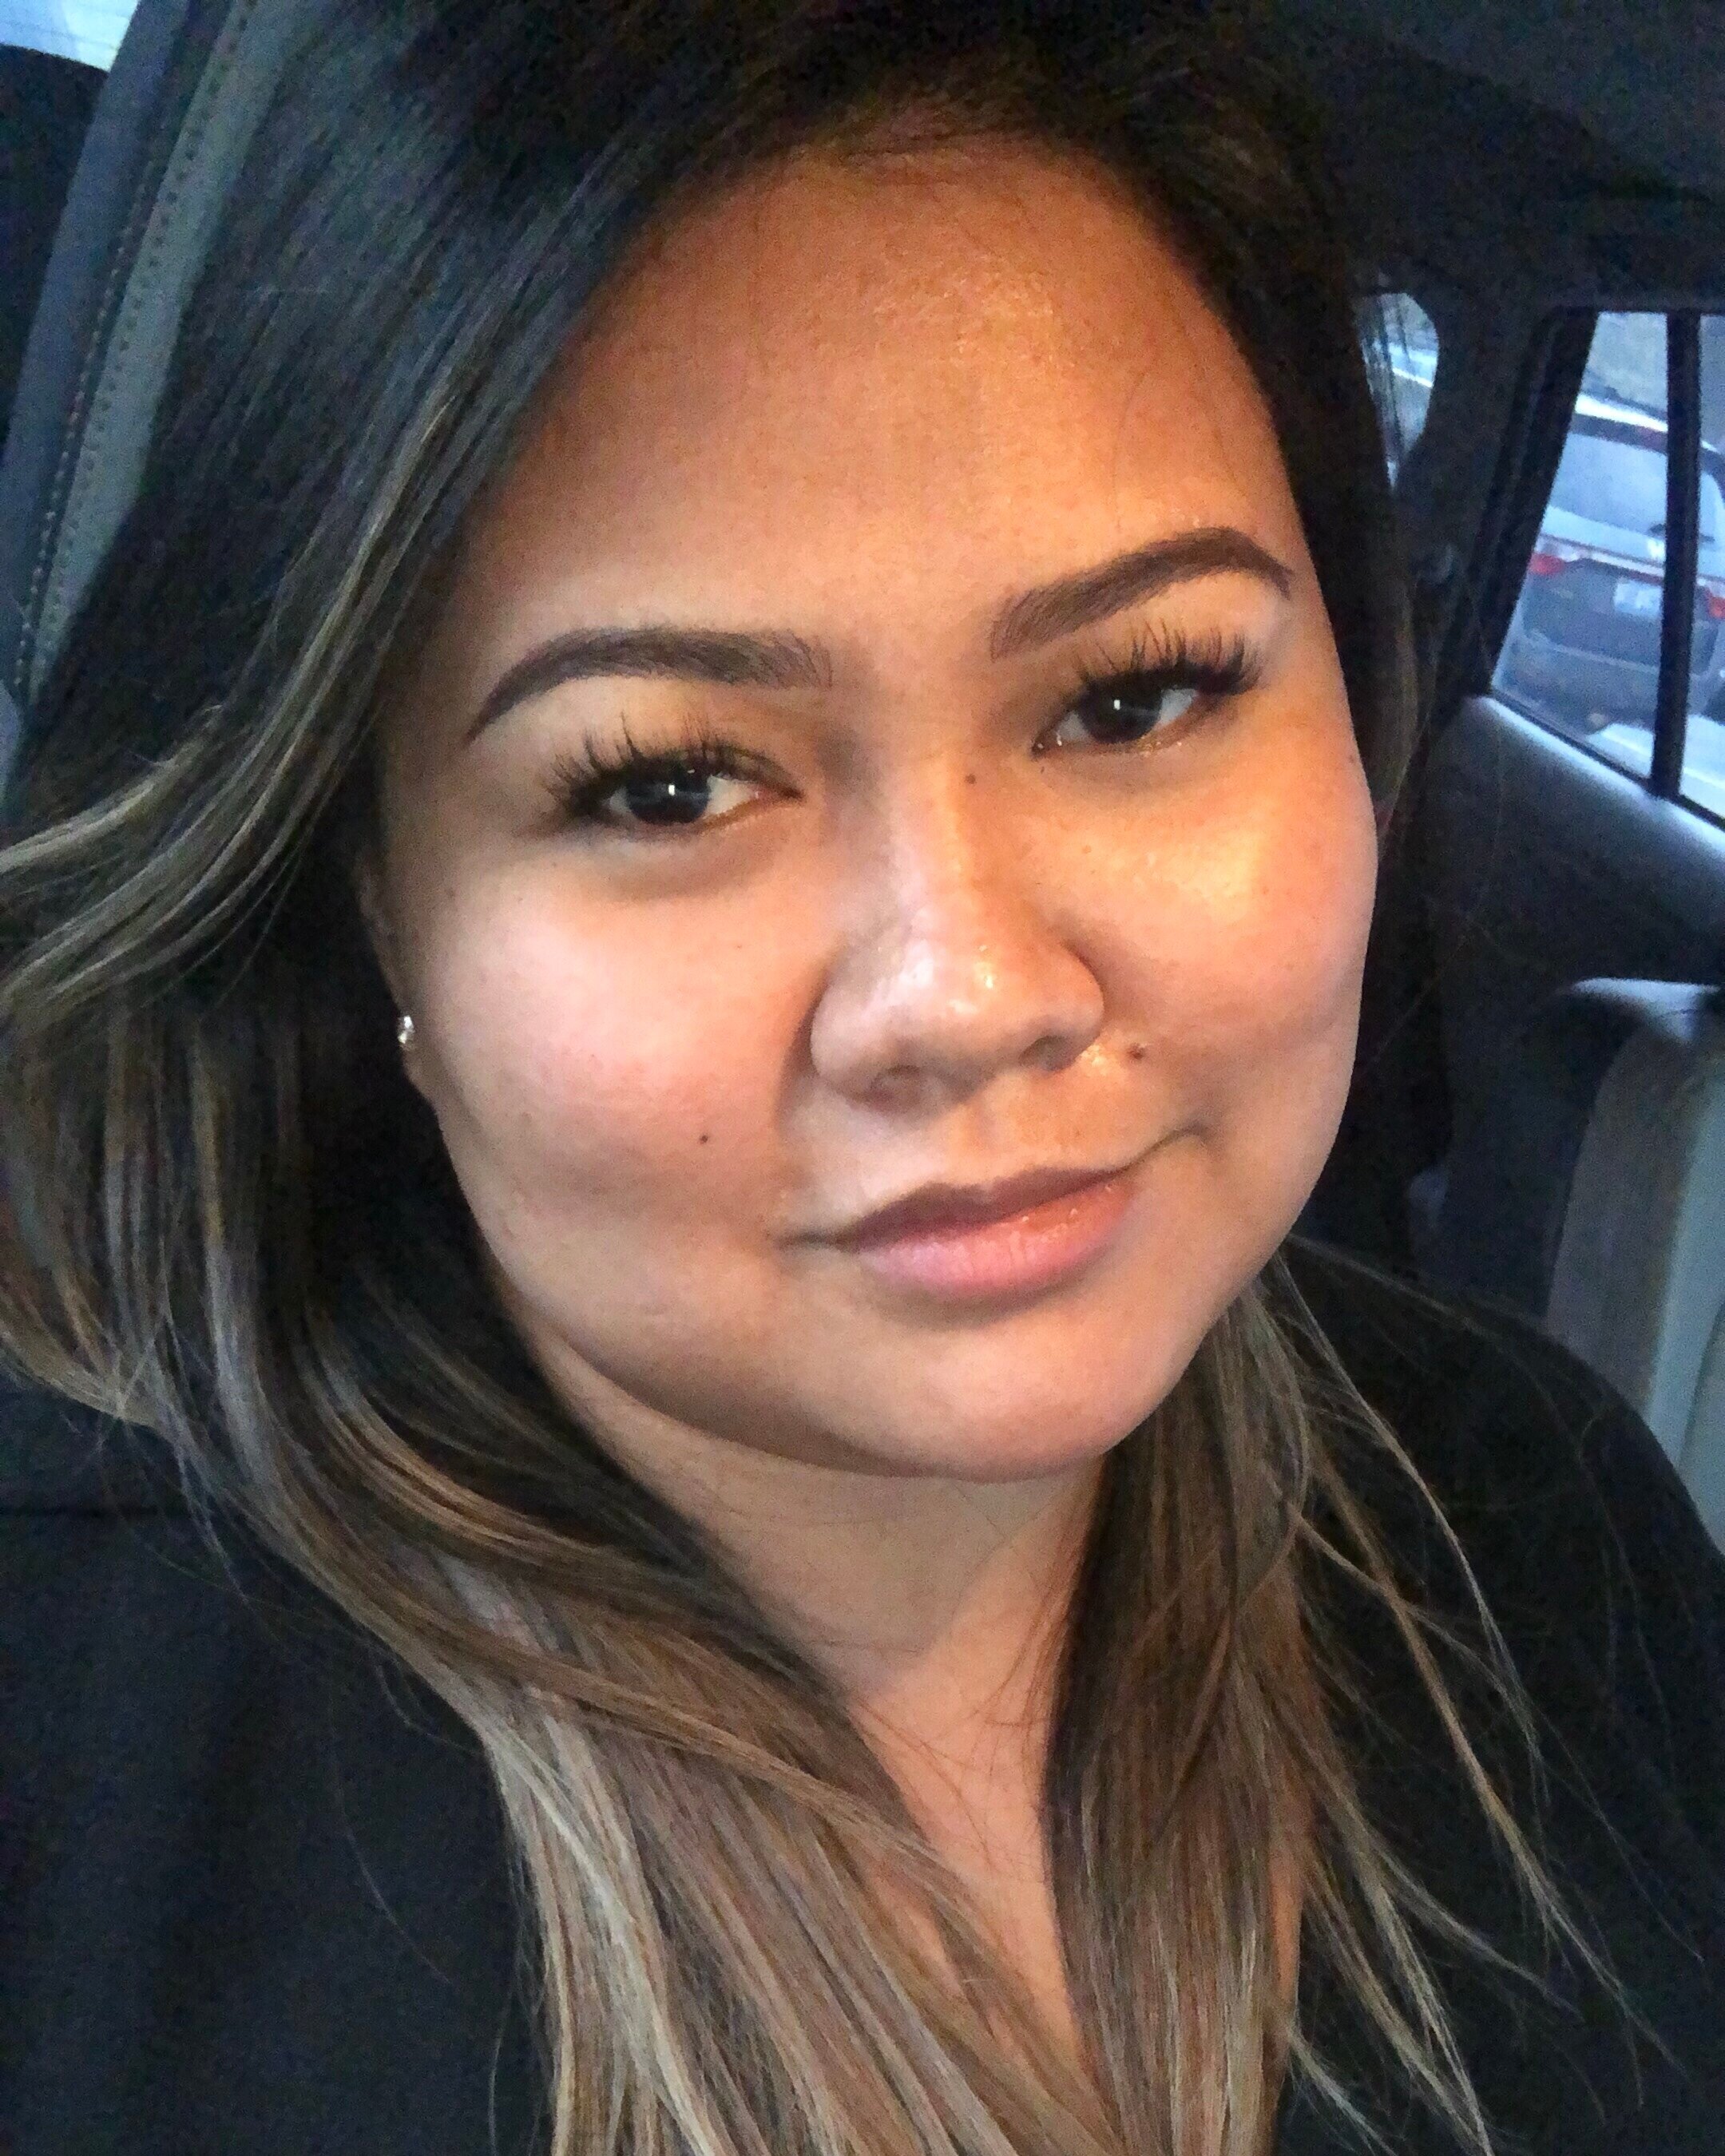
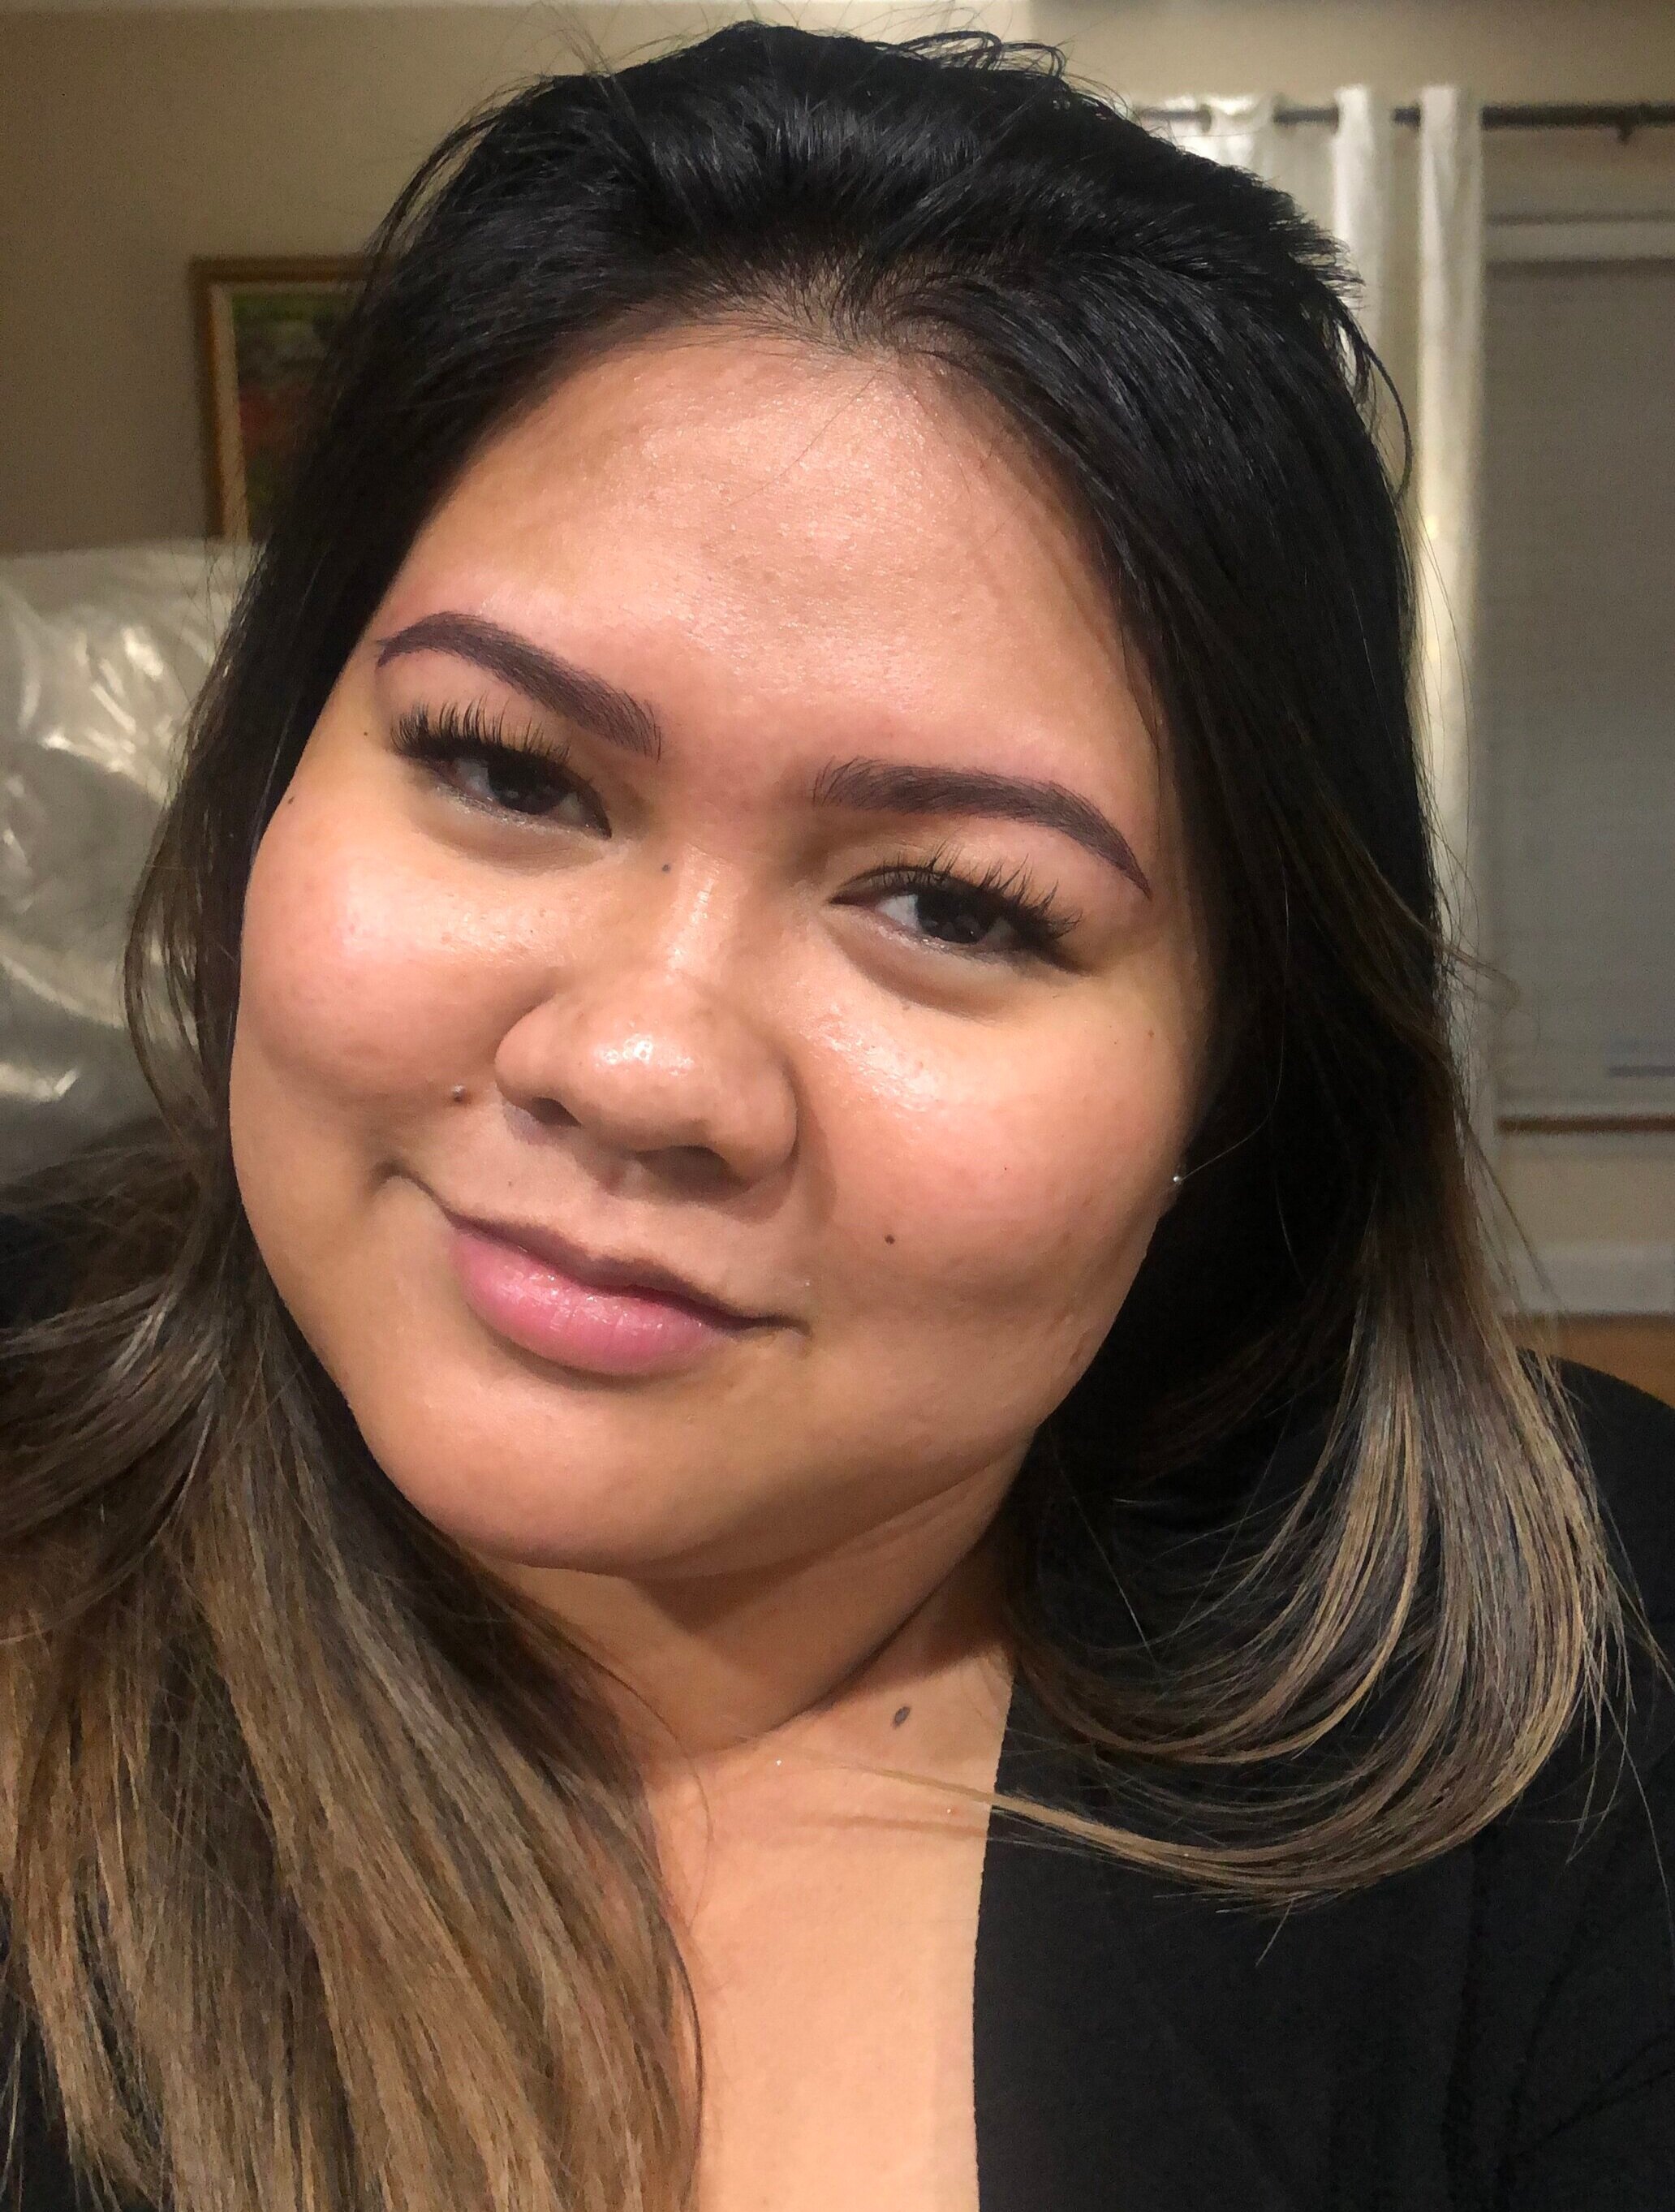
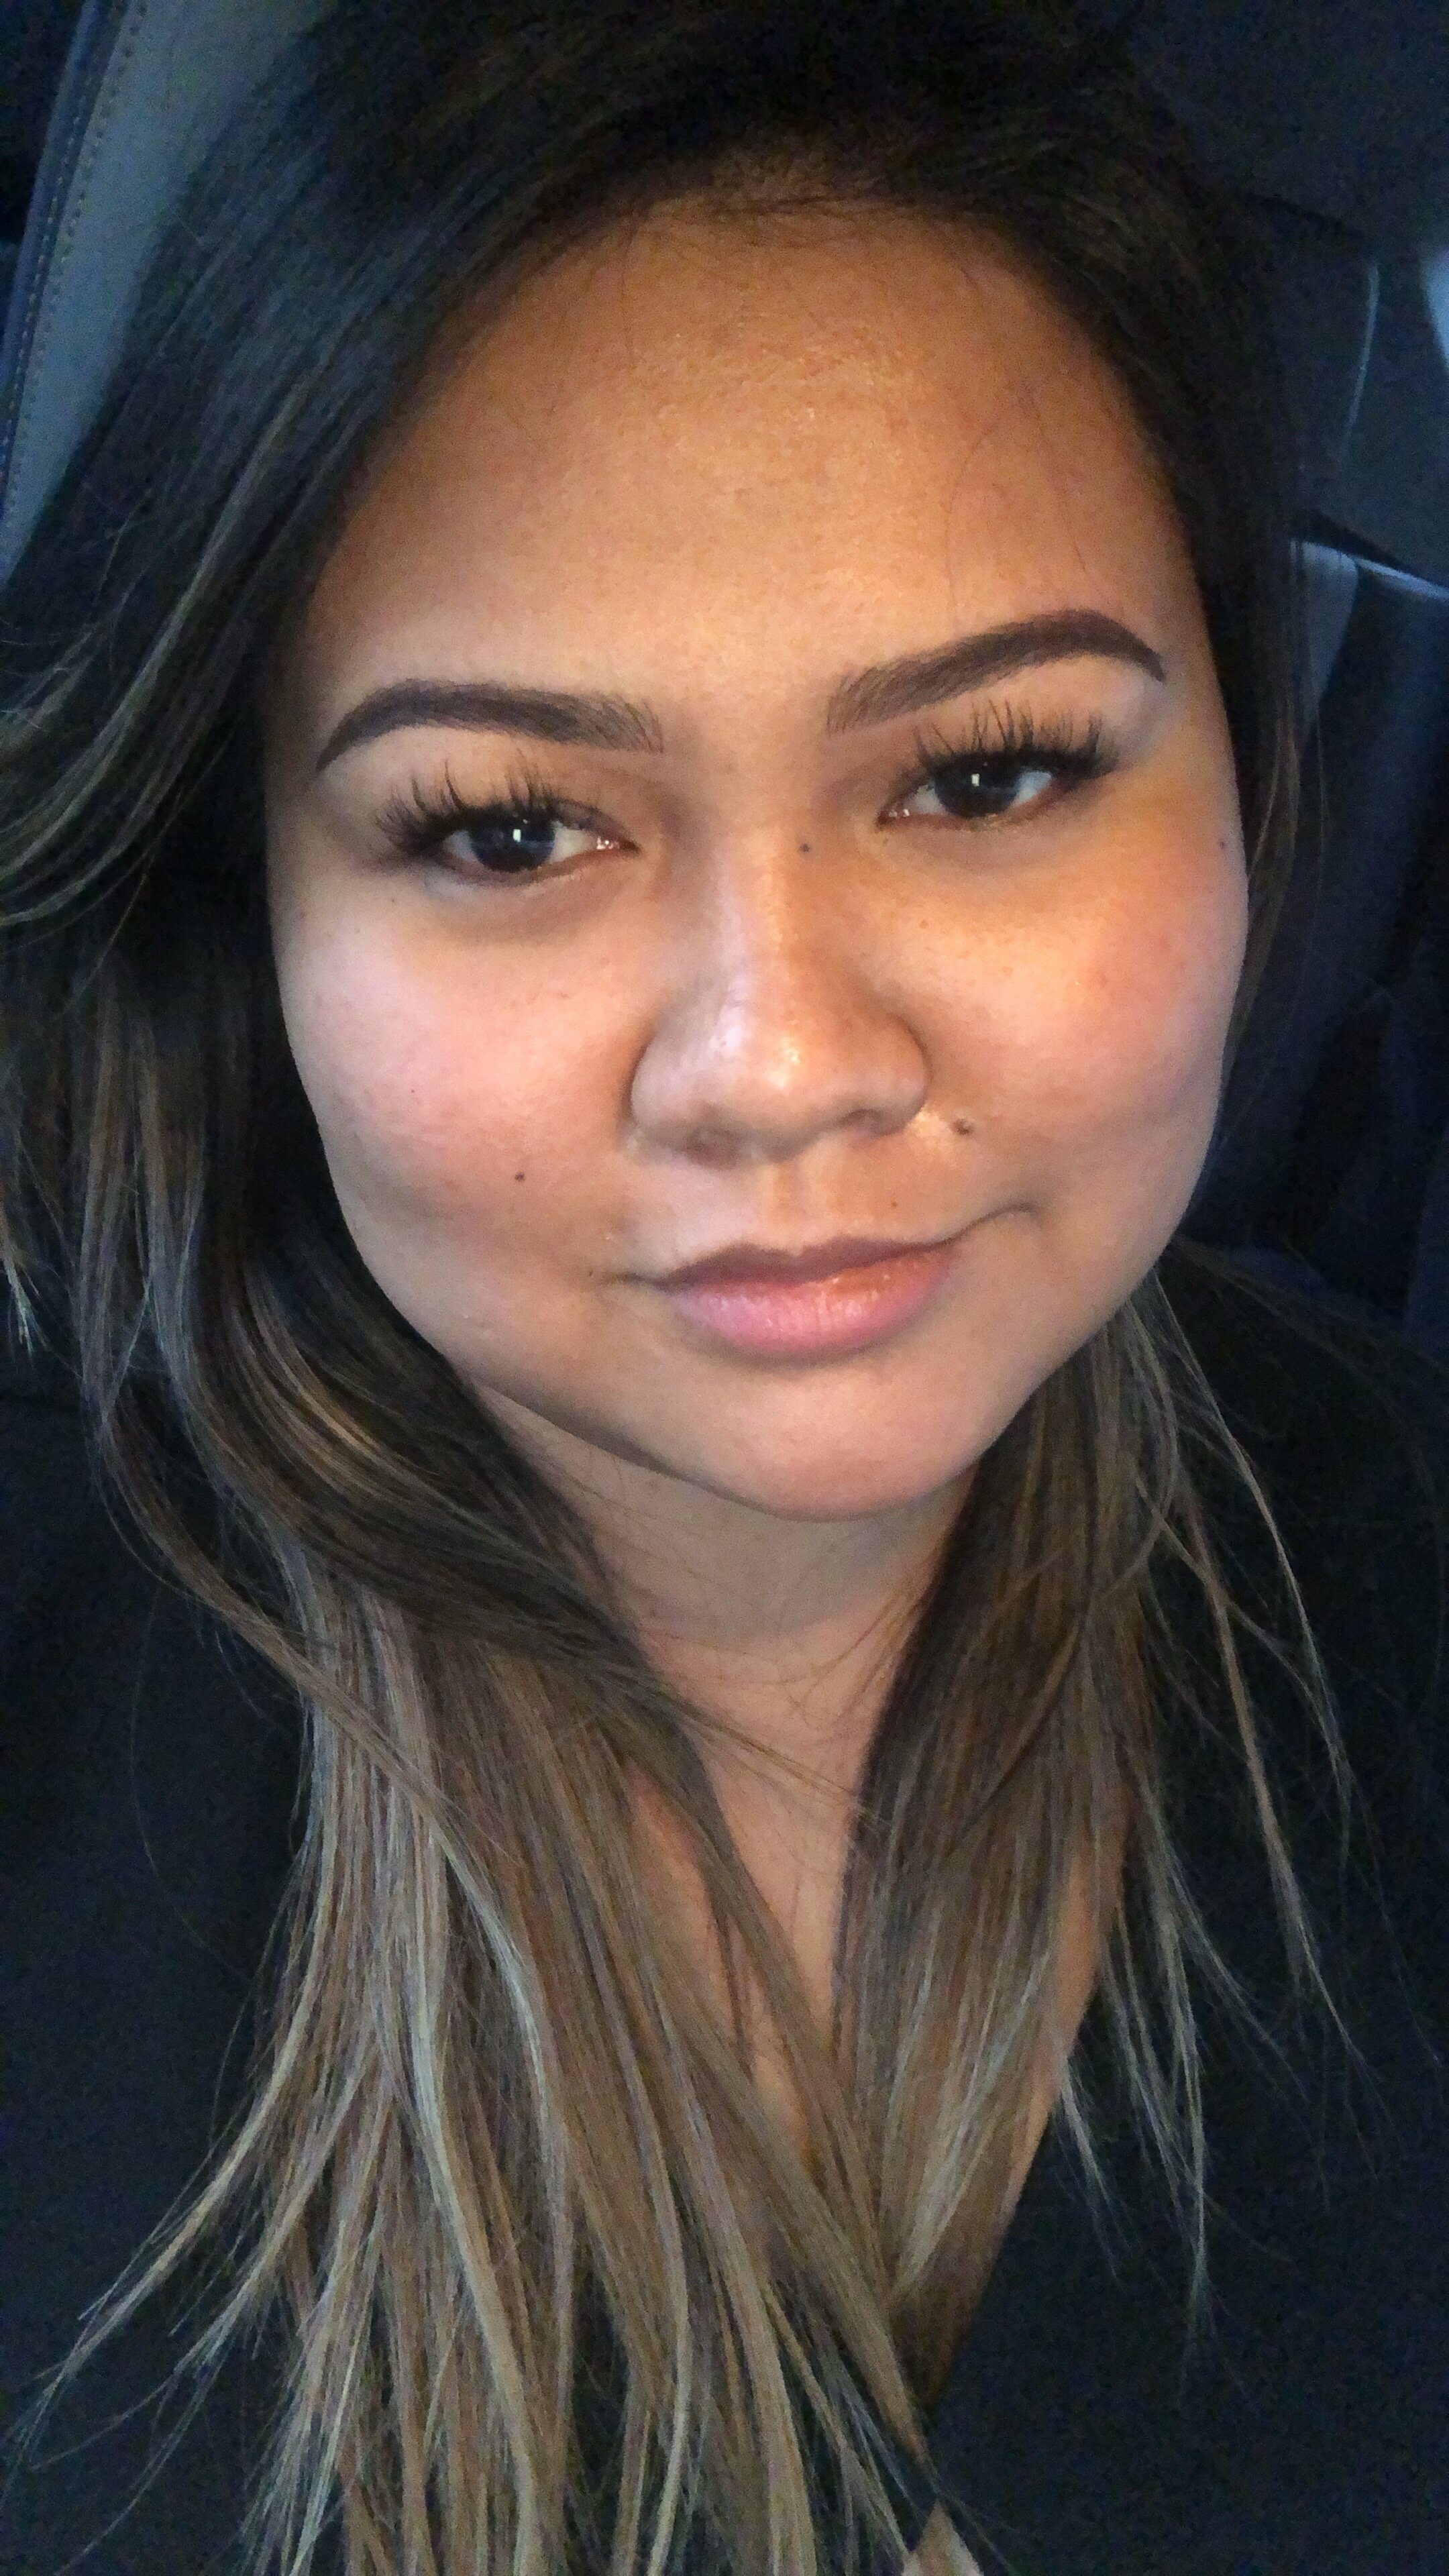
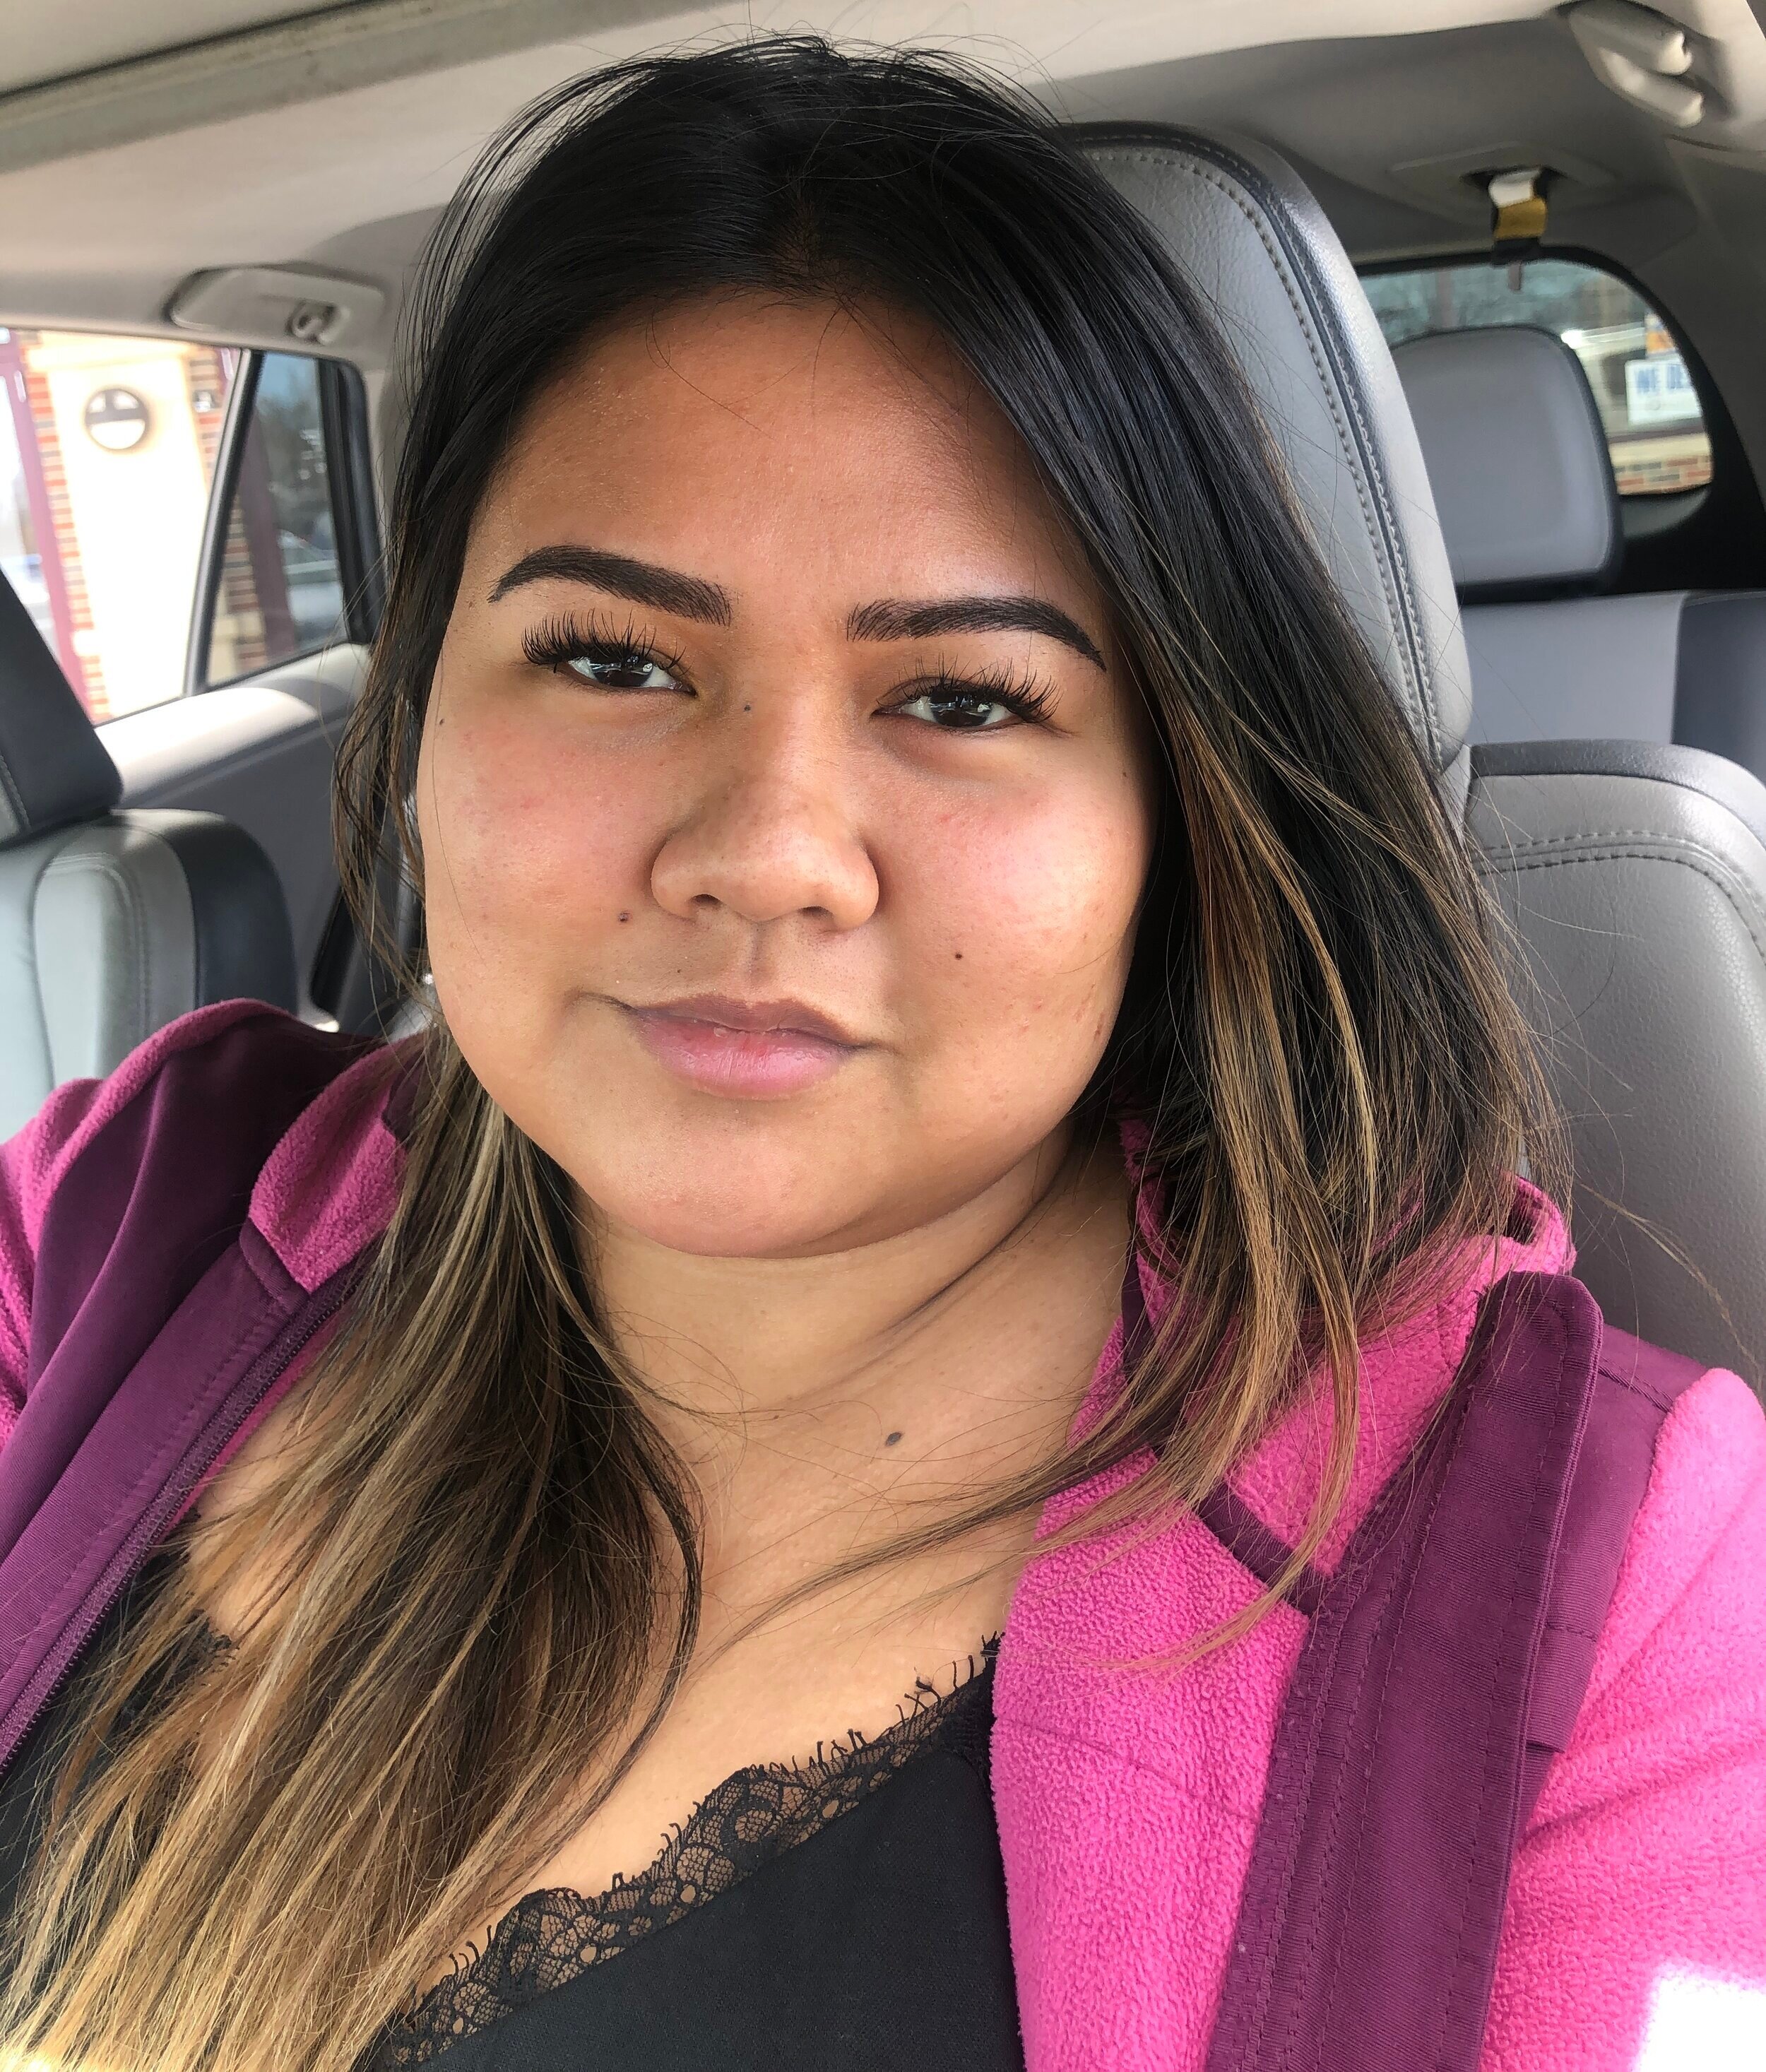
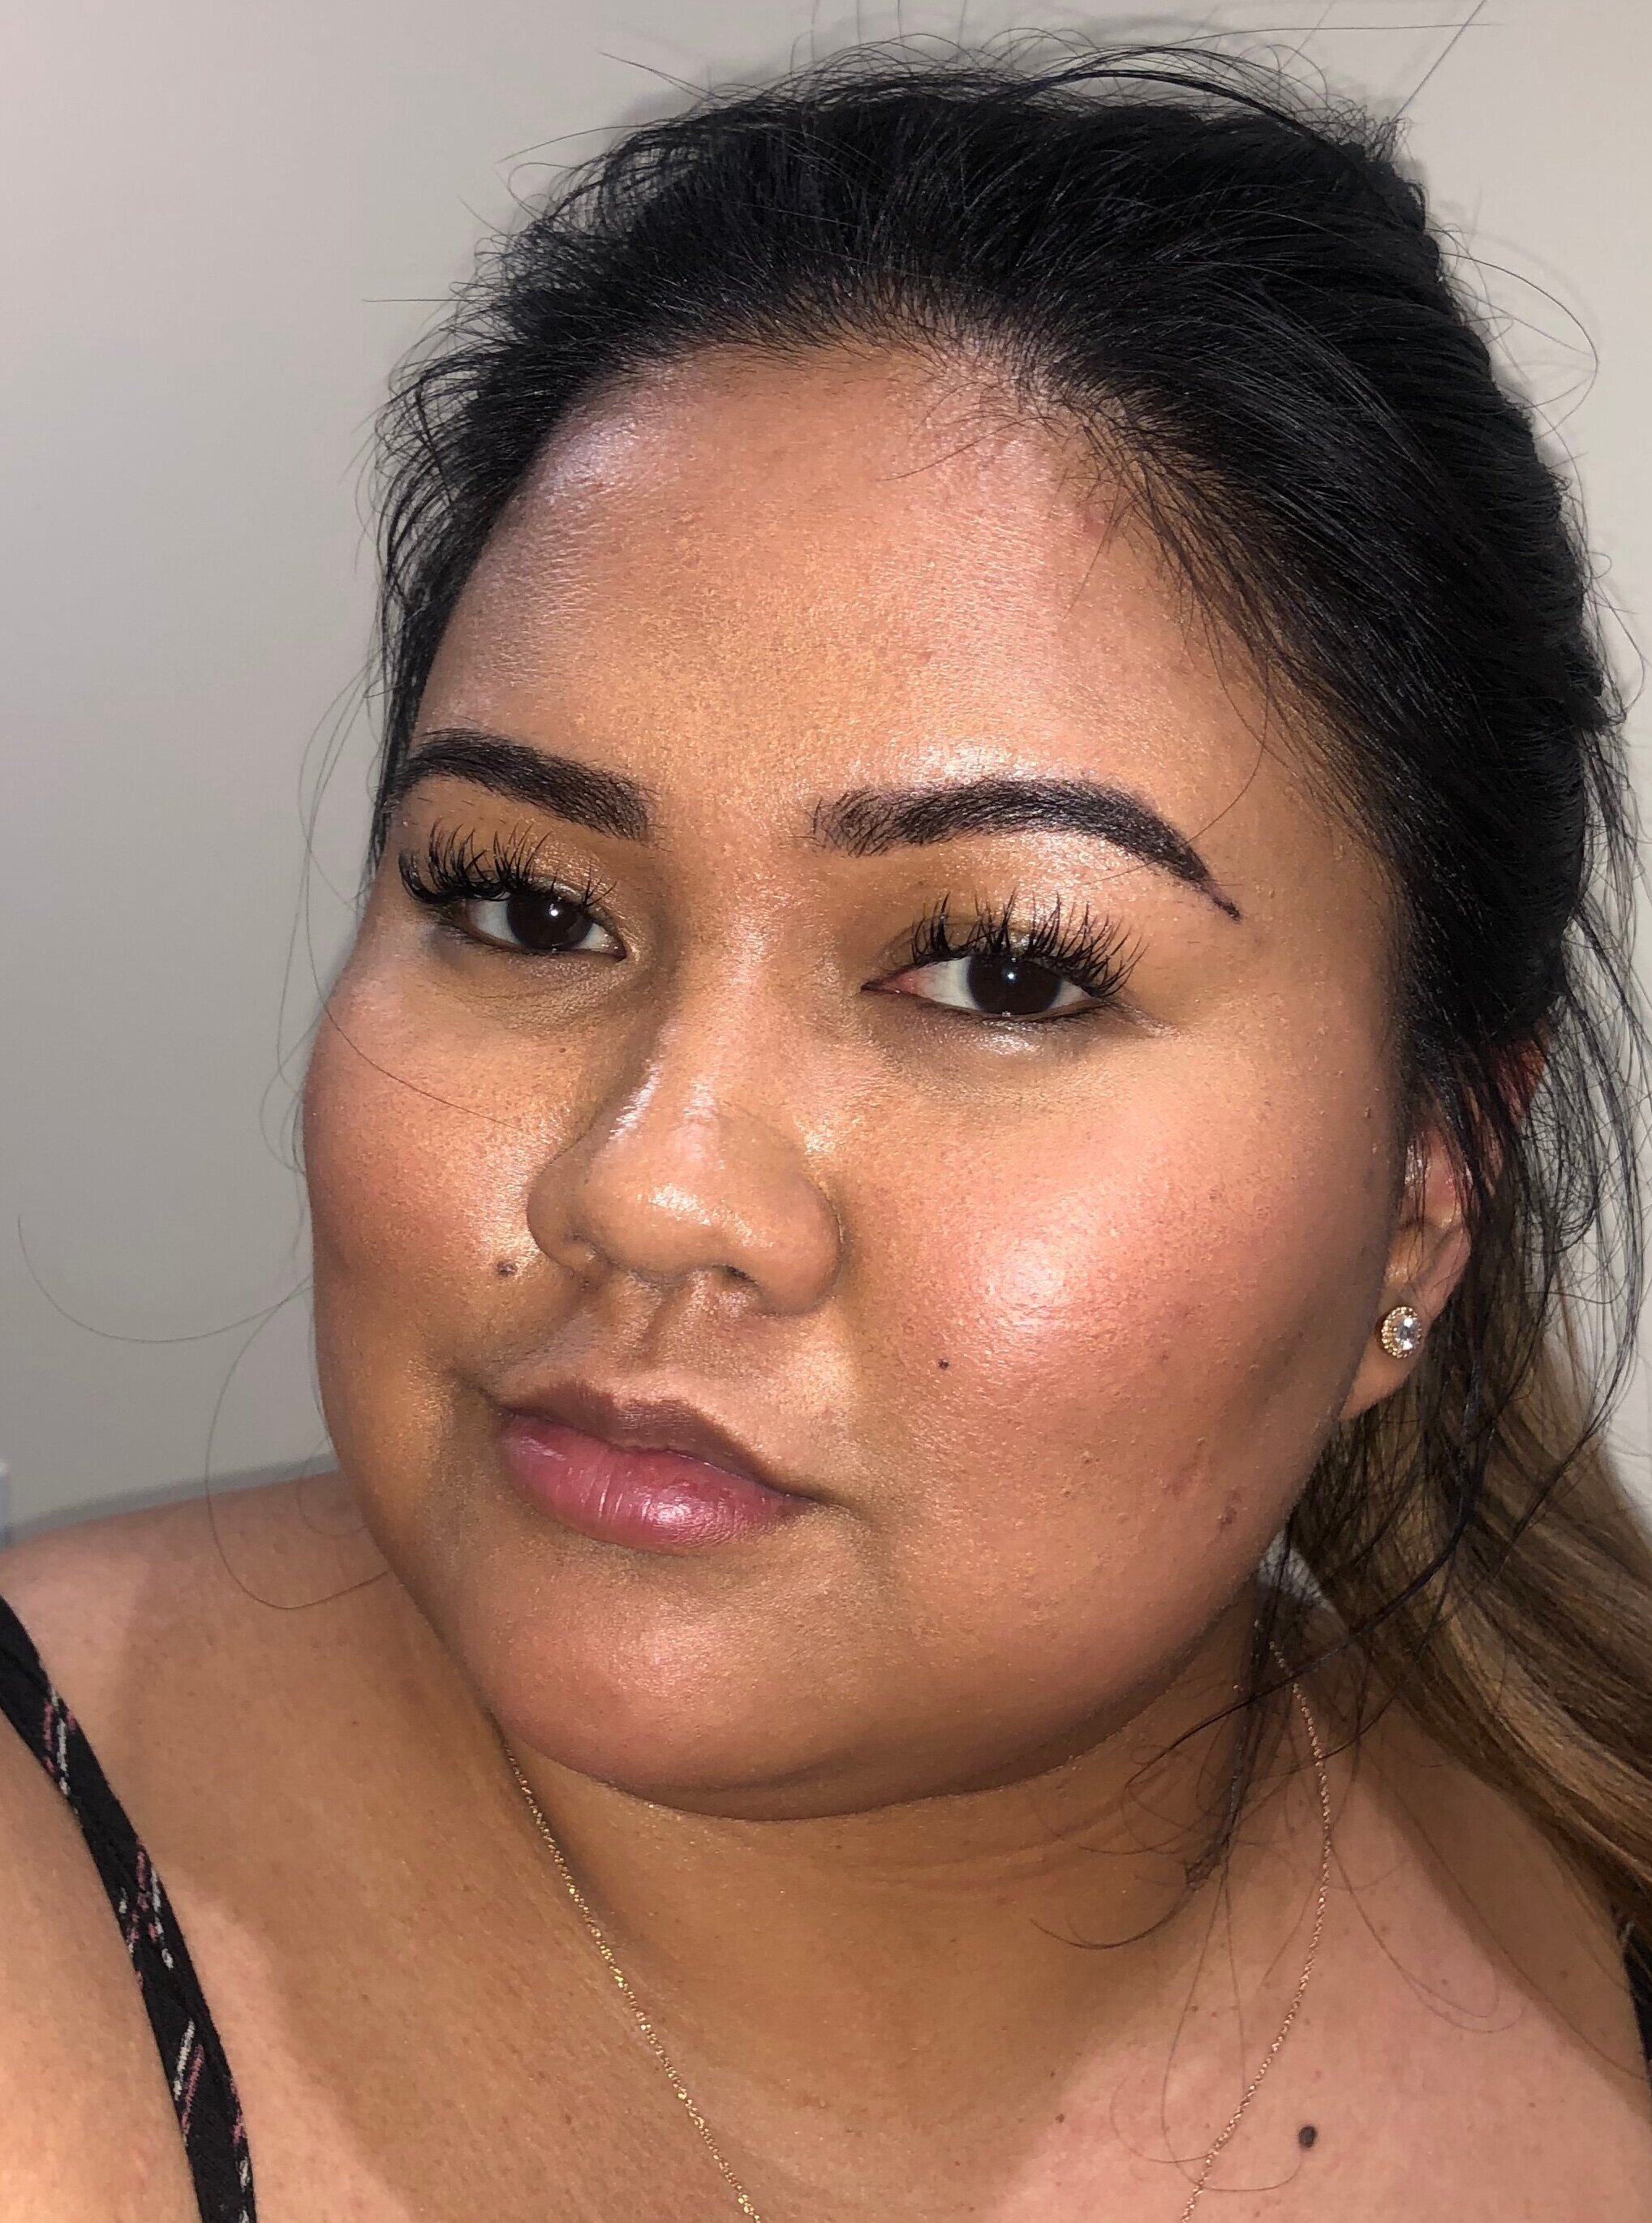
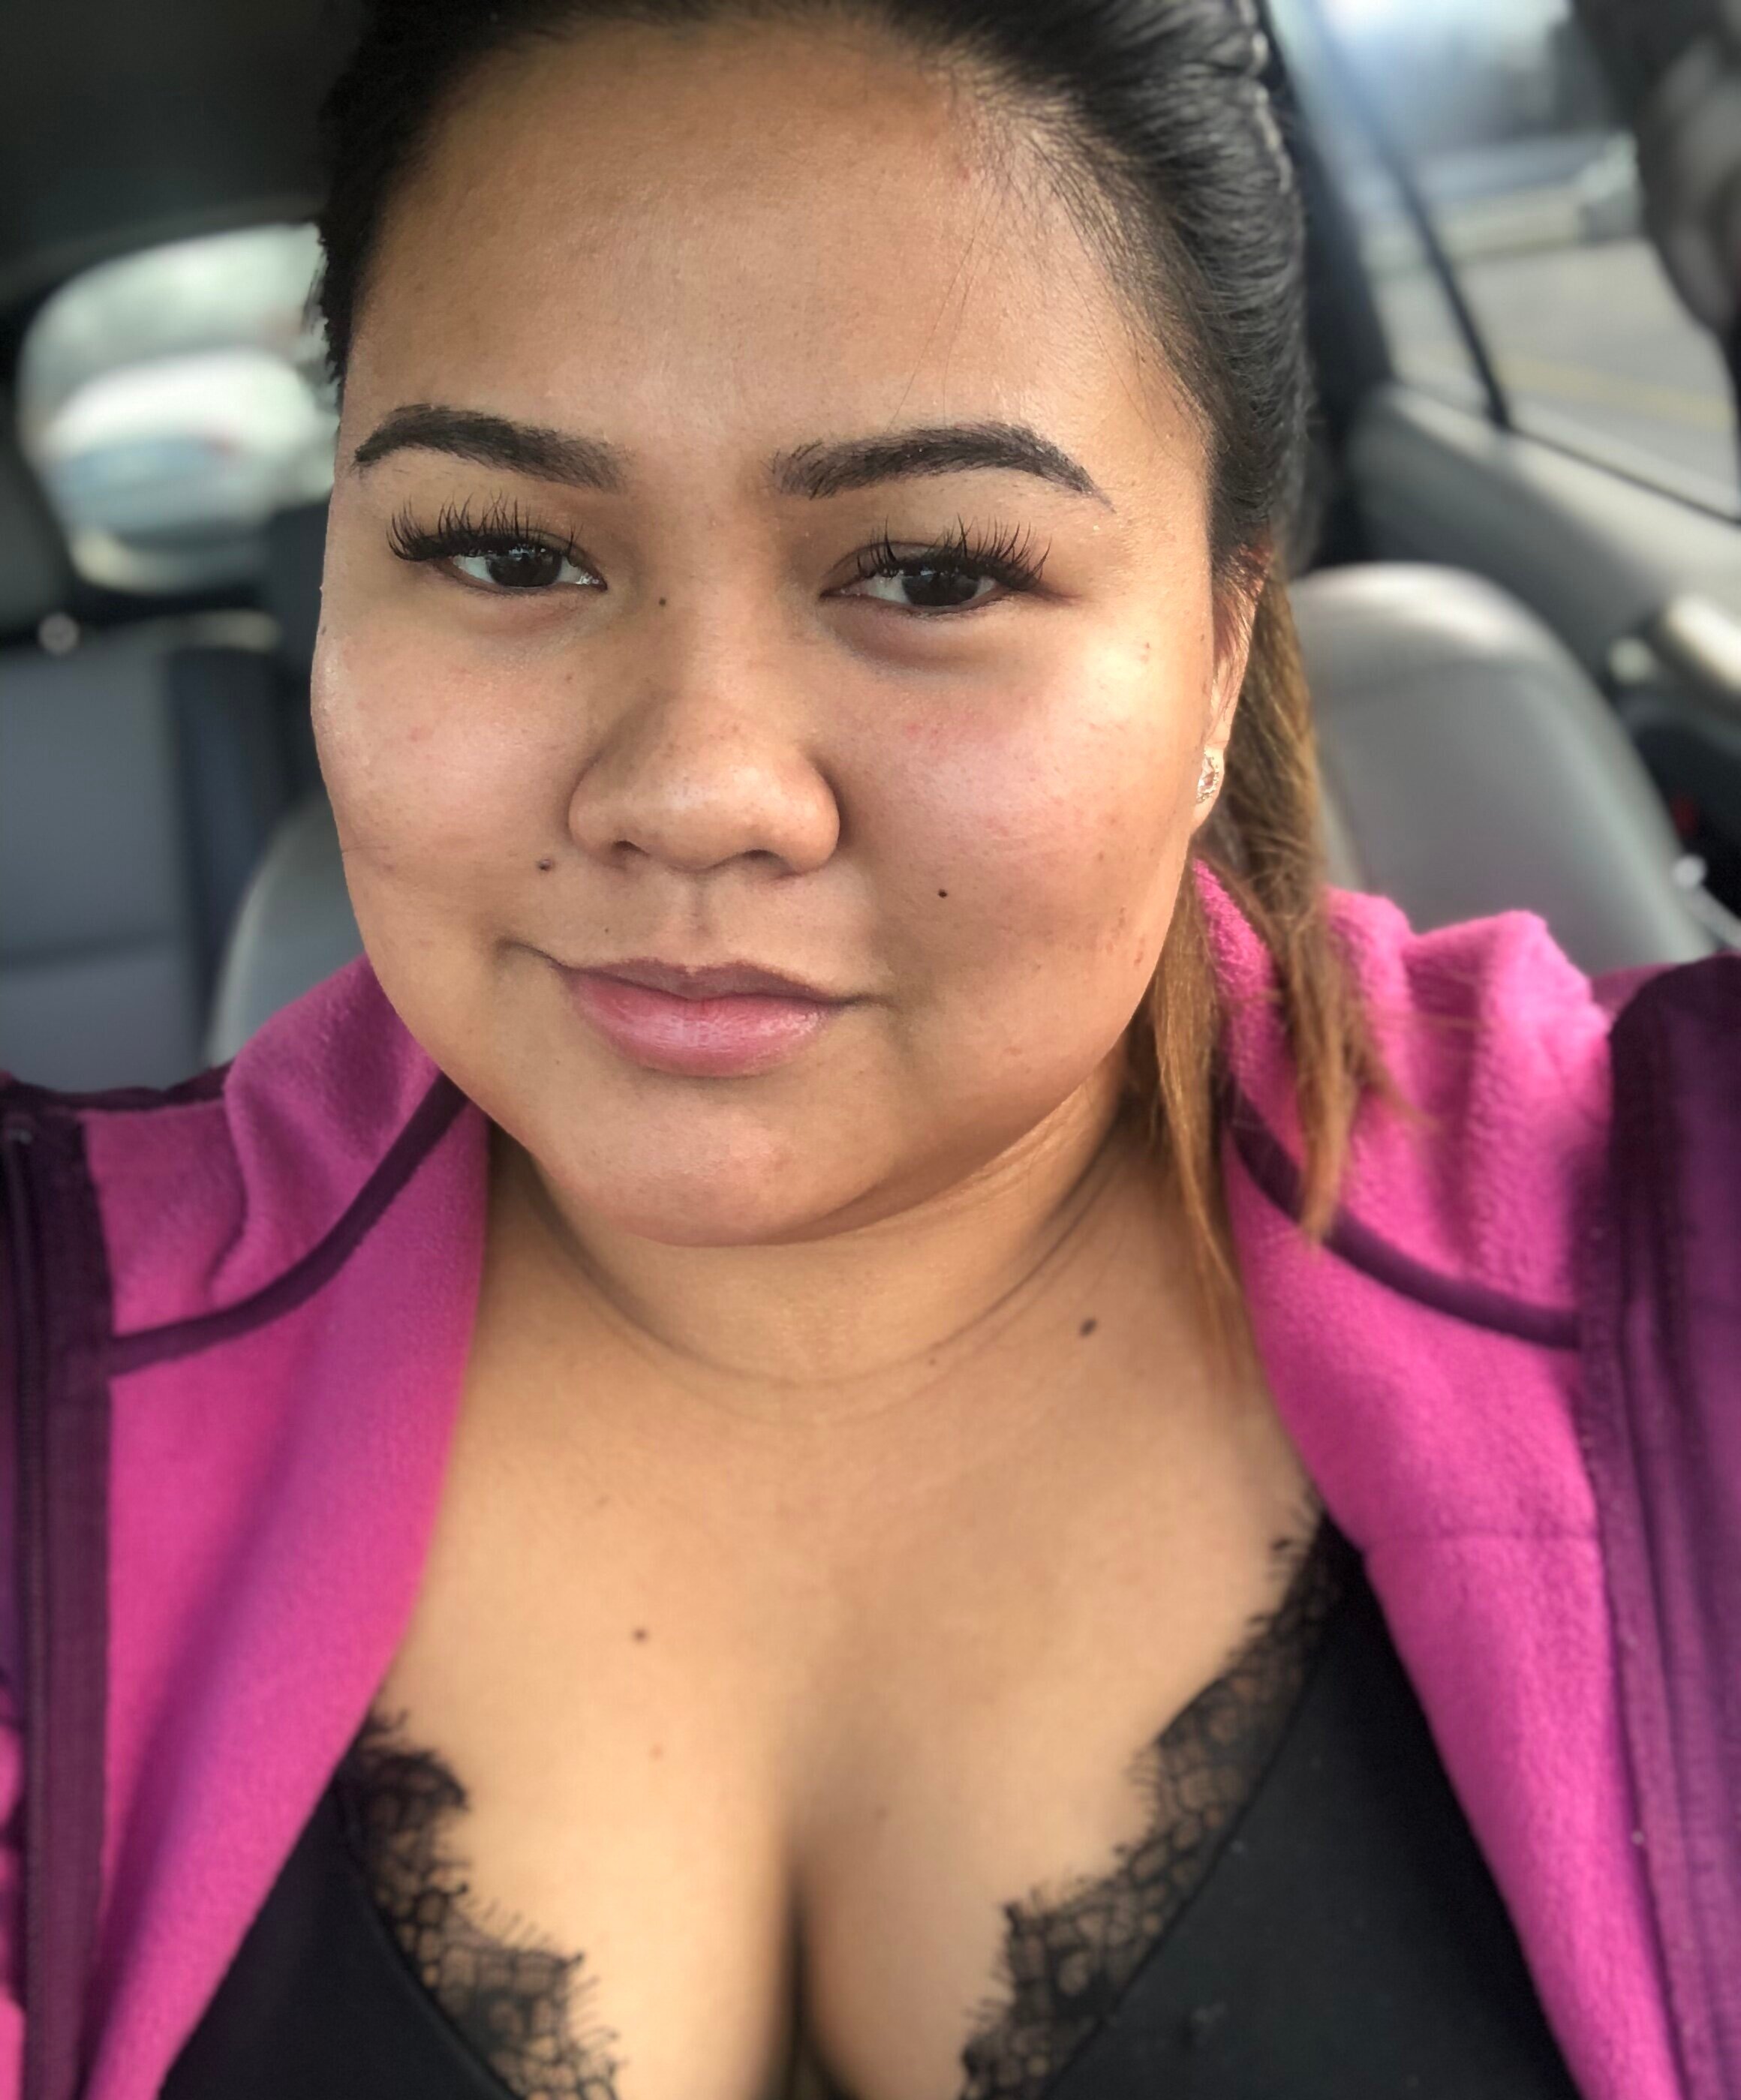
I did not take a day by day healing progress photo for my touch-up appointment, however, below are some of the photos I took for some of the days:
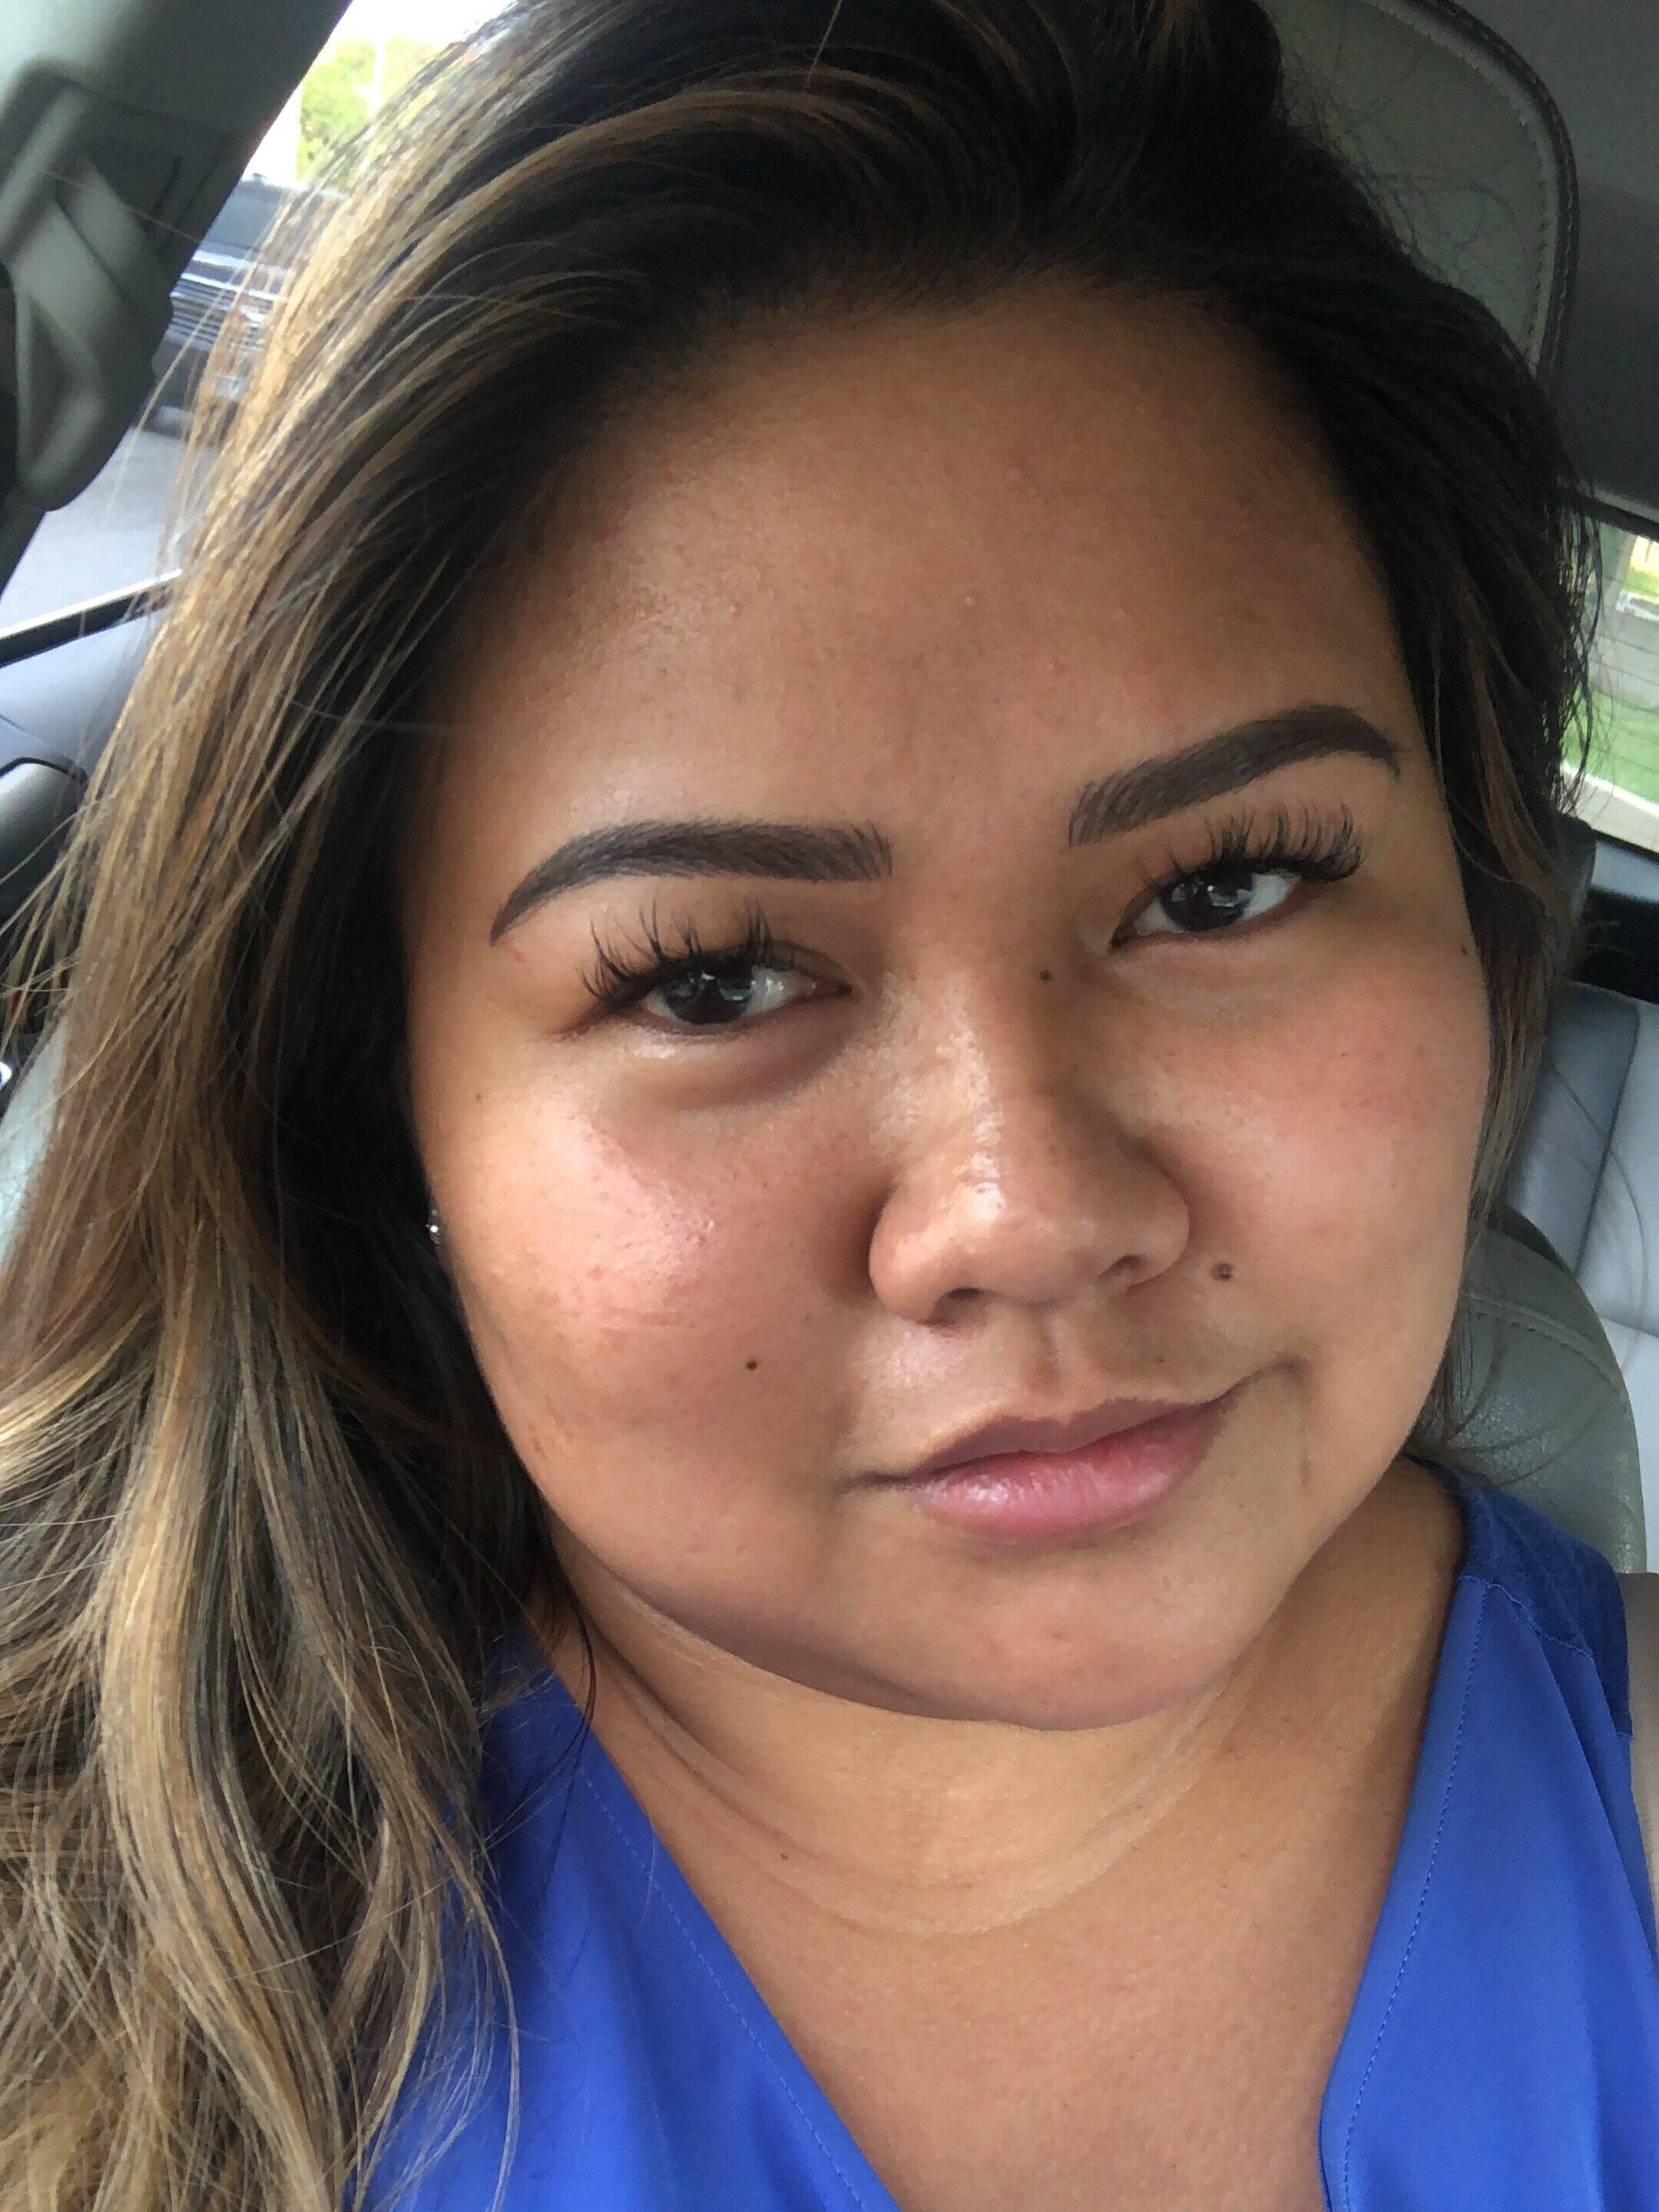

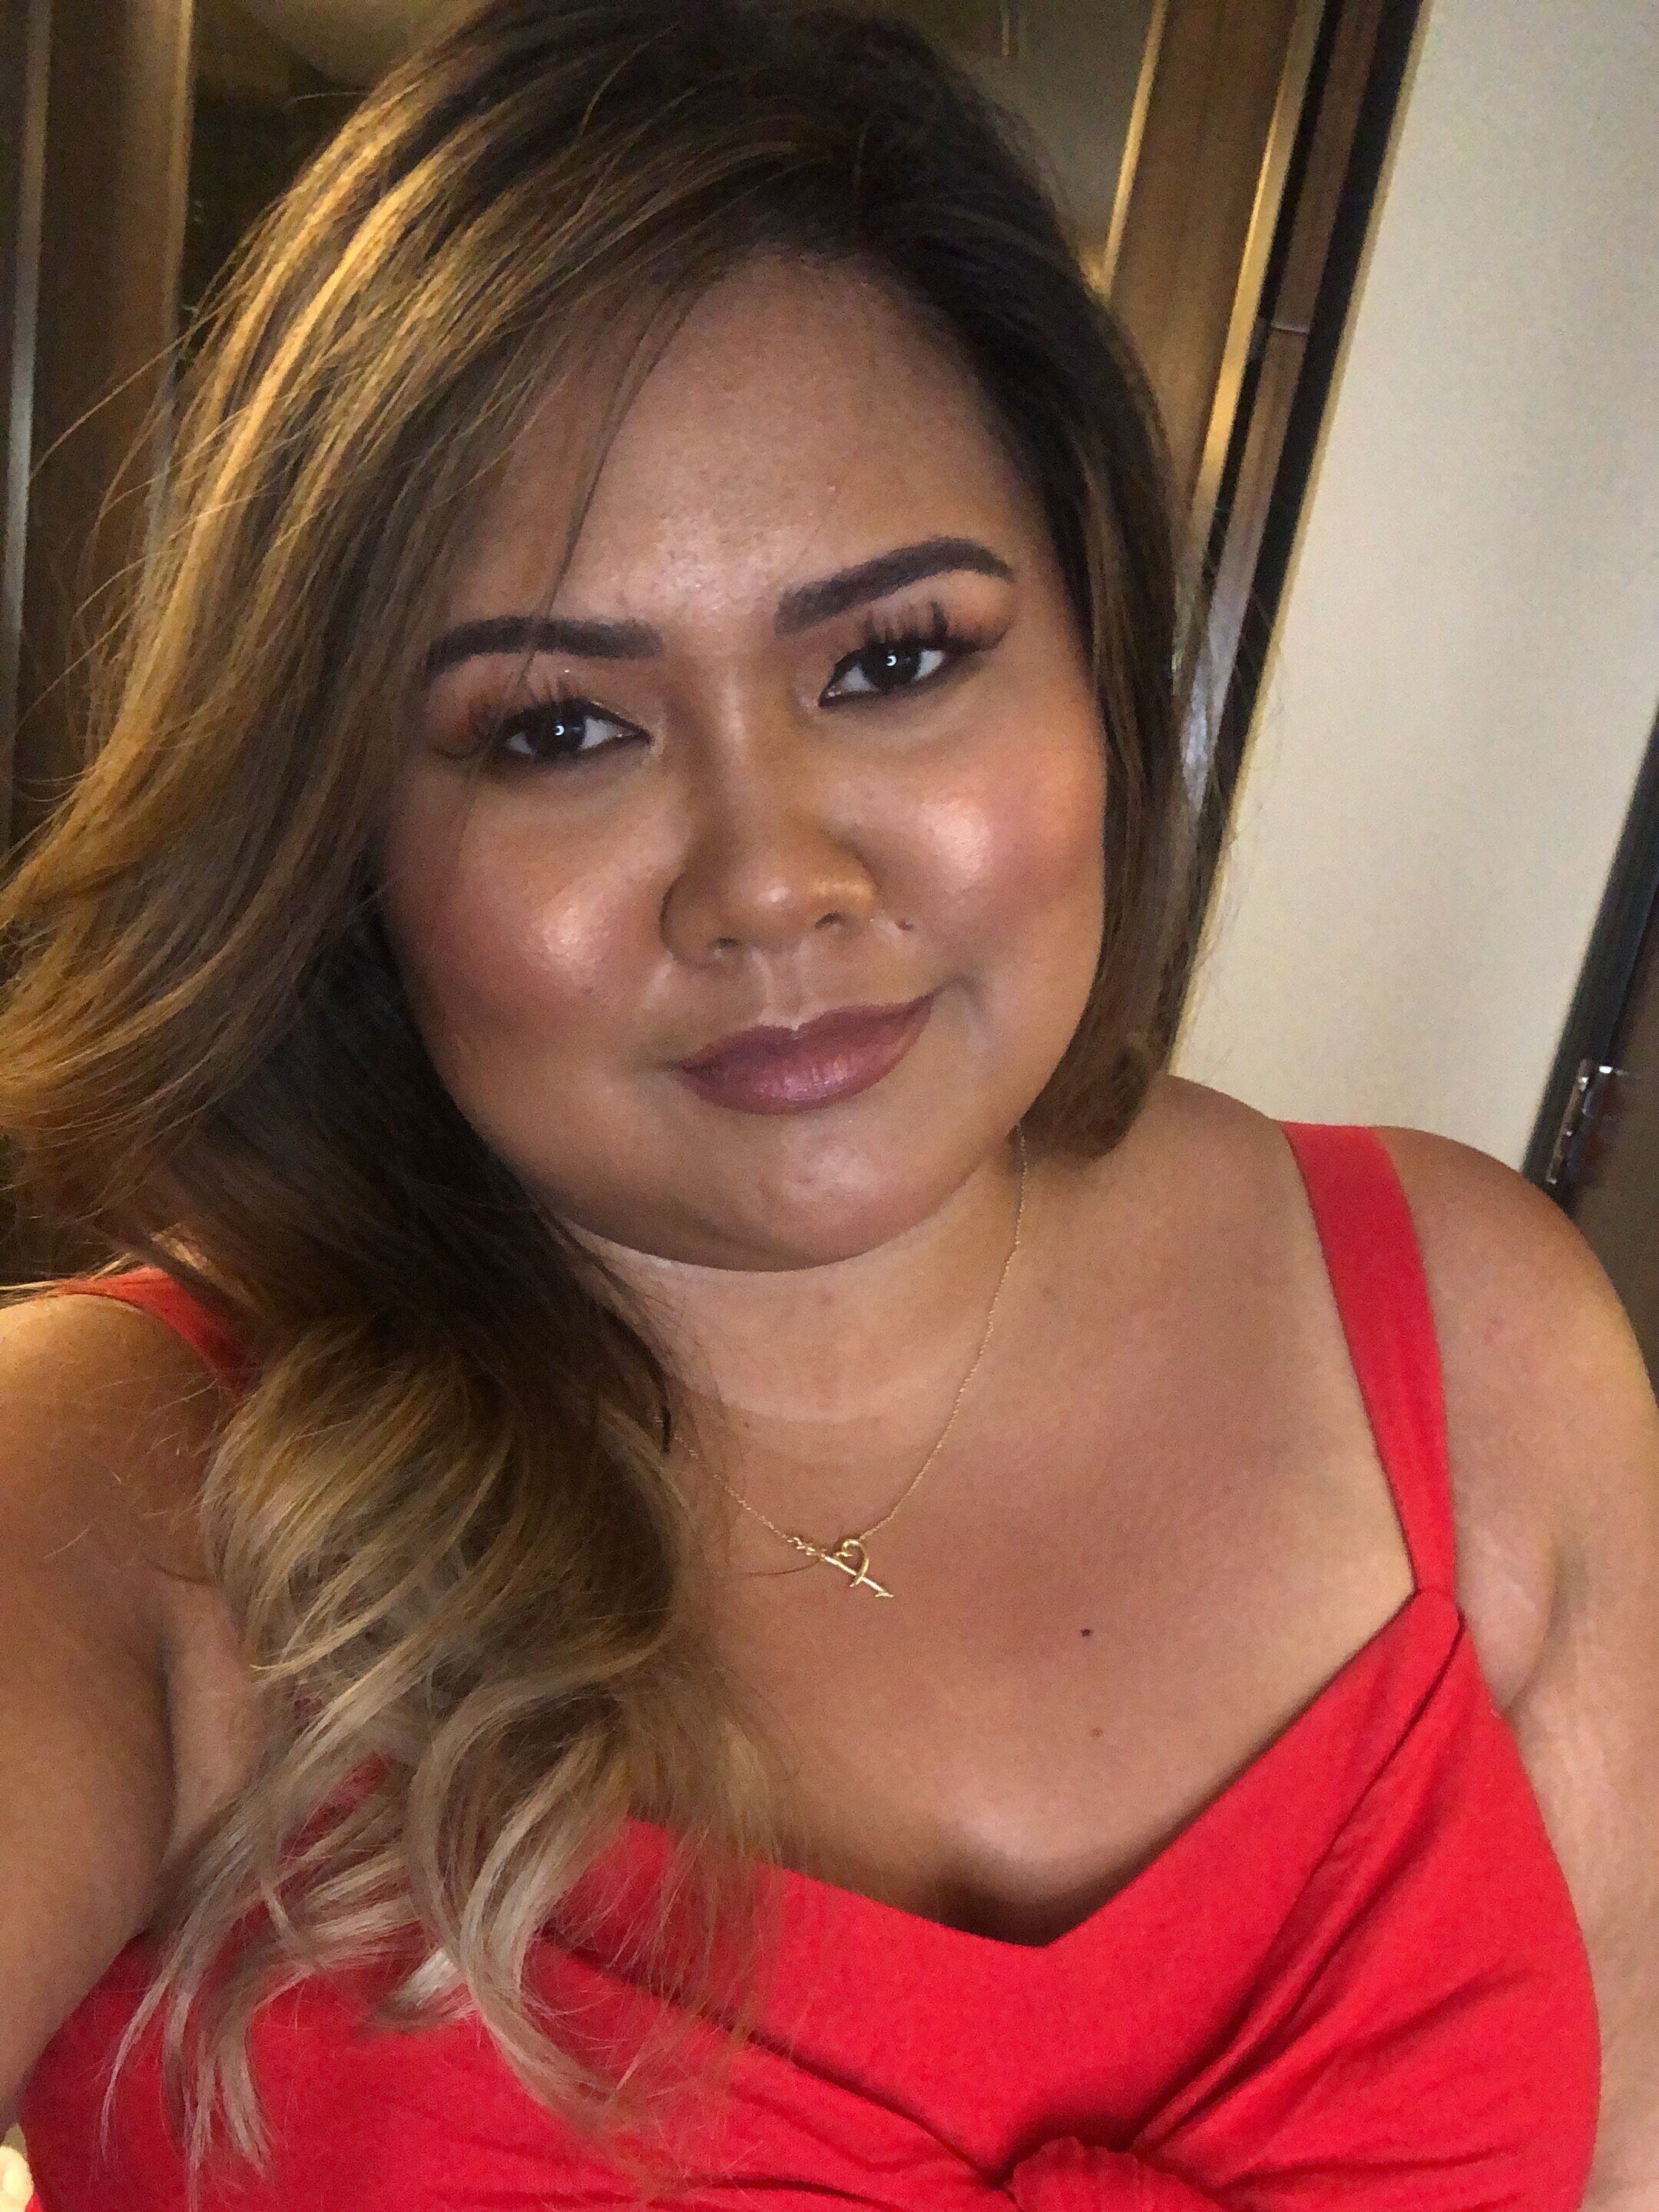
Overall, I really loved my microbladed brows! I am so grateful that I found Daisy because she did such an amazing job with my brows and up until now, even after a few months of getting my brows done, I still get so many compliments with how great and natural my brows look! If you’ve been thinking of getting your brows microbladed and live in the Chicagoland area, I highly recommend going to Daisy from Reve microblading!
